- ページ 12
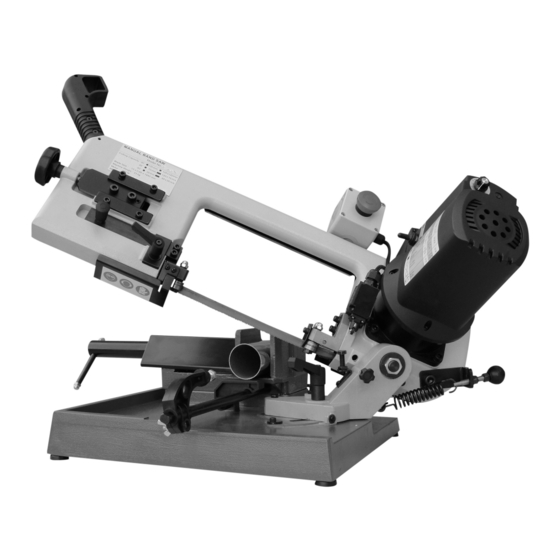
ソウ Axminster UE-127DV1のPDF ユーザーマニュアルをオンラインで閲覧またはダウンロードできます。Axminster UE-127DV1 16 ページ。 Portable band saw

8. Adjusting
Adjusting Blade Guide
An unbounded handle (A) in Fig.14 is mounted
on the unit for freely changing blade guide
device position by loosens it counter- clockwise.
A
Fig. 14
It's designed for your convenience to adjust
blade guide easily and quickly at any time, and
under any situation. Adjustment of this blade
guide is in accordance with the sizes of work
pieces. The one located at the left of the saw
head can be adjusted and the other is fixed.
When cutting a small work, move the guide
toward the work as close as it can be. Both
cuttings will present you satisfactory jobs.
Do not make any adjustments, or load, unload
work from vise when machine is running!
Adjusting Poor Cutting
The machine has been adjusted and
power-tested with several test cuts before
leaving the factory to insure proper cutting. If
there is any poor cuts occurred, correct it as
follows.
1.
Bad cuts due to blade worn, replace a new
blade.
2.
The saw uses fixed ball bearings and can
be adjusted ball bearing by eccentric
bearing shaft (B) in Fig.15, 16 (A) is to
keep the tolerance with the blade. For
keeping proper cutting, the best way is to
replace them every three or six months
depending on the frequency of service.
3.
Poor cuts can be made because the nuts
(A) in Fig.15, 16 are getting loose. Then
tighten it properly.
WARNING
A
SHUT OFF THE POWER SOURCE BEFORE
THIS MACHINE IS IN ADJUSTMENT,
MAINTENANCE, OR REPAIRMENT.
Changing the Motor Carbon
Brushes
If the motor is making an unusual noise then the
carbon brushes may need to be replaced.
1.
Disconnect machine from power supply.
2.
Remove two tap screws connected with
on/off switch's box, and three Phillips head
screws around cover base. (Fig. 17)
3.
There are two plastic covers on the motor
(Fig.18) after uncovering the motor's cover.
Remove plastic covers.
4.
There are coppers sheet with wiring
covered on the carbon brushes (Fig.19).
5.
Slide copper sheet to the one way (Fig.20),
the carbon brush will jumps out (Fig.21).
Replace the carbon brushes (Fig. 22) .
6.
Both brushes must be replaced at the
same time.
7.
Replace the carbon brushes' cover and
motor cover.
- 10 -
B
Fig. 15
A
B
Fig. 16
WARNING
