- ページ 4
ツール Axminster Collet Chuck System SetのPDF ユーザーマニュアルをオンラインで閲覧またはダウンロードできます。Axminster Collet Chuck System Set 8 ページ。 Collet chuck system set

General Operating Instructions...
!
1. Thread the lathe adapter into the body of the chuck if required. (See fig 1)
2. Thread the chuck body on to the headstock of the lathe.
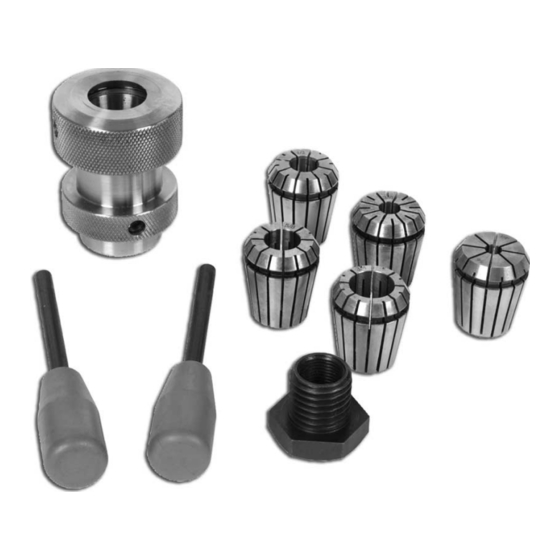
3. The kit includes 5 collets 6,10,12,16 and 20mm to grip dowels and tenons. Insert the
collet that is appropriate for your work; with the small tapered end first. Then thread the
sleeve nut loosely over it. (See figs 2,3 & 4)
4. Insert the dowel or tenon of your work piece into the collet; and using the tommy bars
tighten the sleeve nut down to clamp it in position. (See fig 5) Ideally, the nut sleeve surface
should be flat with the surface of the collet for maximum support of the work piece. The
collet chuck is ready.
Replacing the Collet
!
To replace the collet; unscrew the sleeve nut and insert the required collet, tapered end in
first, see fig 2 into the opening of the body. Replace the sleeve nut. (See fig 4)
!
Note: If the collet is jammed inside the chuck body, pull on the groove at the top of
the collet to release it from the chuck body. (See fig 6)
04
THE PICTURES IN THIS MANUAL SHOW
THAT THE COLLET CHUCK HAS BEEN REMOVED
FROM THE LATHE FOR CLARITY
DISCONNECT THE LATHE FROM THE MAINS SUPPLY
www.axminster.co.uk
