- ページ 11
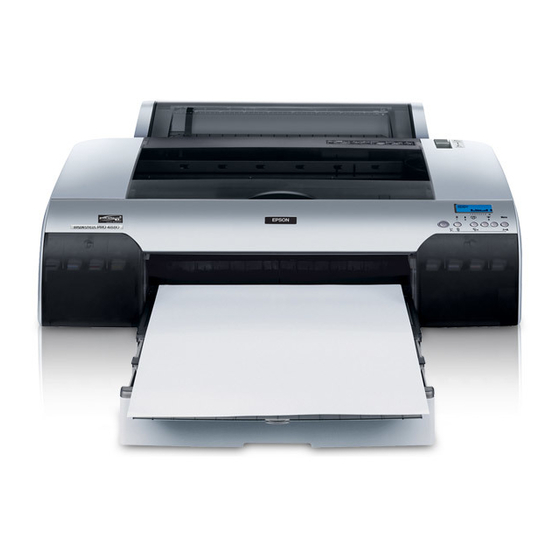
プリンター Epson 4880 - Stylus Pro Color Inkjet PrinterのPDF 製品情報マニュアルをオンラインで閲覧またはダウンロードできます。Epson 4880 - Stylus Pro Color Inkjet Printer 16 ページ。 Ink fill for the refillable cartridge system
Epson 4880 - Stylus Pro Color Inkjet Printer にも: クイック・スタート・インストール・マニュアル (1 ページ), ネットワーク・マニュアル (46 ページ), インストレーション・マニュアル (4 ページ), 限定保証 (12 ページ), 使用方法 (5 ページ)

9. When the uni-directional alignment is finished, press
until you see
BI-D 2-COLOR
to start the bi-directional black alignment process, which is
also completely automatic and takes about 7 minutes.
10. When the bi-directional black alignment is finished, press
until you see
BI-D ALL
start the alignment process. Again, this process is completely
automatic and takes about 17 minutes.
11. When done, press the
alignment mode.
If you want to verify or fine-tune the automatic alignment
process, you can perform a manual head alignment. See your
on-screen User's Guide for instructions.
Replacing the Paper Cutter Blade
If you notice that your paper isn't being cut cleanly, the cutter
blade may need to be replaced. If you use the blade to cut
heavy stock, you will damage the blade and need to replace it.
See the Printer Guide for a list of media that should not be cut
by the cutter.
Note: You can purchase replacement blades from an Epson
Professional Imaging authorized reseller. To find the nearest
reseller, visit www.proimaging.epson.com (U.S. sales),
www.epson.ca (Canadian sales), or call 800-GO-EPSON (800-463-
7766). Or you can purchase online at www.proimaging.epson.com
(U.S. sales) or www.epson.ca (Canadian sales).
You can check the status of your cutter by printing the status
check sheet or viewing its status on the control panel. See
page 8 for instructions.
You can obtain a new cutter blade from Epson (part number
C12C815291).
Make sure the printer is on, then follow these steps to replace
the blade:
1. Press the
button.
Menu
2. Press the
button until you see
3. Press
to display
Menu
Caution: Do not try to slide the carriage by hand, or you may
damage the printer.
4. Press
again. The print head moves to the cutter
Menu
replacement position.
OPEN TOP COVER
. Then press
Menu
. Then press
again to
Menu
pause button to exit the head
CUTTER REPLACE
.
EXEC
is displayed.
5. Open the top cover.
again
6. When
REPLACE CUTTER
down the side pin as shown and turn the latch to the right.
7. Release the side pin and carefully remove the cutter blade.
WARNING: The blade is sharp. Be careful when removing it.
.
8. Insert the new cutter as shown.
12/07
Epson Stylus Pro 4880
is displayed on the LCD, hold
11
