- ページ 2
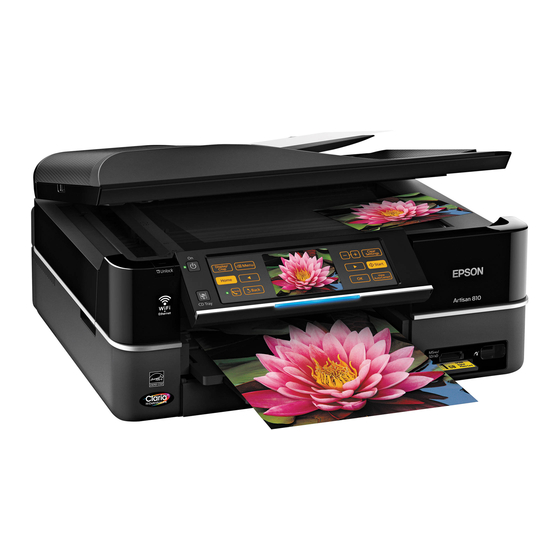
プリンター Epson Artisan 725のPDF ここからスタートをオンラインで閲覧またはダウンロードできます。Epson Artisan 725 4 ページ。 Color inkjet printer
Epson Artisan 725 にも: 特徴と利点 (2 ページ), ここからスタート (2 ページ), よくある質問 (4 ページ), サービスマニュアル (20 ページ)

3
Remove only the yellow tape from each cartridge.
C
aution: Don't remove any other seals or the cartridges may
leak.
4
I nsert the cartridges in the holder for each color. Press
each cartridge down until it clicks.
5
Lower the scanner.
6
W ait while the printer is priming, which takes about
5 minutes.
N ote:
Your printer ships with full cartridges and part of the
ink from the first cartridges is used for priming the printer.
Replacement cartridges will print more pages.
C
aution: Don't turn off the printer while it is priming or you'll
waste ink.
5
Load paper
The paper cassette has 2 trays. The main tray is for
letter-size, A4, legal-size, or 8 10-inch paper. The photo
tray is for 4 6- or 5 7-inch photo paper. For instructions
on loading legal-size paper, see the online User's Guide.
1
P ull out the paper cassette. Then slide back the photo
tray and lift it up.
2
S queeze the edge guides and slide them out. Then insert
paper with the glossy or printable side face-down.
3
Slide the edge guides against the paper.
4
Lower the photo tray.
5
S queeze the edge guides and slide them out. Then
insert 4 6-inch or 5 7-inch photo paper with the
glossy or printable side face-down.
Note: Make sure the paper fits under the edge guides.
6
Slide the edge guides against the paper.
7
Keep the cassette flat as you insert it.
8
Extend the output tray and flip up the stopper.
N
ote: Do not flip up the stopper if you're using legal-size
paper.
