- ページ 4
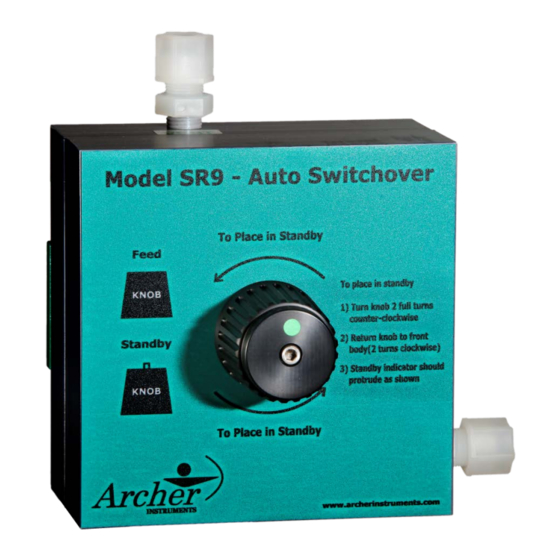
コントローラー Archer SR9のPDF インストレーション オペレーション&メンテナンスをオンラインで閲覧またはダウンロードできます。Archer SR9 6 ページ。 Automatic switchover

4) Remove the BTA-124 and BTA-129 body screws and separate the SR9 front and
back bodies. The diaphragm assembly can then be removed.
5) The reset pin VRA-546 can be unscrewed if necessary (left-hand threads) from
the diaphragm assembly using a pair of pliers, being careful to only grab the
smooth part of the pin. This part has a raised ring, which must not be marred.
6) The diaphragm back plate VRA-547 and diaphragm front plate are threaded
together using standard right-hand thread and can often be unscrewed by hand. If
they will not unscrew, it may be necessary to use a vice and / or channel locks.
7) The vent (relief) valve assembly can be unscrewed from the back body for service.
8) Whenever routine maintenance is being performed, all parts should be thoroughly
cleaned. It is recommended that all o-rings be replaced. Replacing the VRA-546
reset pin is only necessary if the SR9 will not remain in the standby position. This
part has left-hand threads and must be fully screwed in until it bottoms out.
9) When reassembling, new o-rings should be given a thin film of the Fluorolube
grease.
10)
The inlet assembly is a critical component of the SR9 and improper handling
or reassembly can result in dangerous leakage of chlorine gas. Archer
Instruments recommends only trained personnel or those familiar with
vacuum regulator maintenance service the inlet assembly. To service the
inlet assembly:
a. Remove the inlet assembly from the yoke plate by sliding the VRA-142
retainer clip off of the inlet capsule.
b. Remove the inlet filter from the inlet capsule. The inlet filter cartridge (FCA-1
& FCA-2 used for 250 PPD and below) can be removed using the tool
provided of by any ¼-20 threaded bolt or screw. The SR9 body screws and
yoke screws are also ¼-20 thread. Unscrew the FCA-2 from the FCA-1 and
replace the filter. For 500 PPD, a silver screen & filter floss are used.
c. The inlet assembly can now be disassembled by using a small flathead
screwdriver to unscrew the inlet valve (VRA-112) from the vent plug (VRA-
111). Be careful when disassembling as the inlet assembly is under spring
tension and small parts could be lost.
d. Once the inlet valve, vent plug, spring, spring holder and spring retainer are
removed, the seal plug (VRA-182) and inlet capsule (VRA-141) can be
unscrewed.
e. The inlet valve seat (VRA-110) can be removed by pressing it up and
through the inlet capsule. The inlet valve seat is a maintenance part and
once removed should never be reused.
f. Carefully clean the inlet capsule, seal plug, inlet valve stem, vent plug,
spring holder, spring retainer and spring. NOTE: The VRA-112 inlet valve
stem must be cleaned using a non-abrasive cloth (or Scotch-Brite pad).
g. Using a new inlet valve seat and new o-rings (with a thin film of the grease
provided on each o-ring), reassemble the inlet assembly in reverse order.
-Should you have any questions during maintenance of your SR9 vacuum regulator,
please contact your local service provider or Archer Instruments for support.
Archer Instruments, LLC
www.archerinstruments.com
