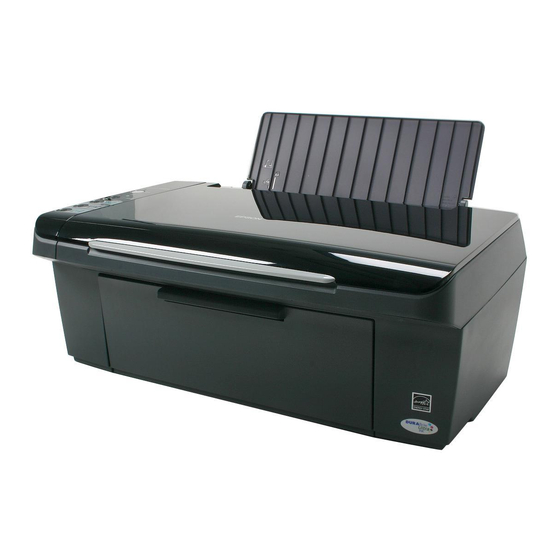
プリンター Epson CX4400 - Stylus Color InkjetのPDF ここからスタートをオンラインで閲覧またはダウンロードできます。Epson CX4400 - Stylus Color Inkjet 4 ページ。 Epson scan icm updater v1.20 (psb.2008.07.001)
Epson CX4400 - Stylus Color Inkjet にも: クイックマニュアル (36 ページ), ユーザーマニュアル (2 ページ), 製品情報 (13 ページ), スタート・ヒア・マニュアル (8 ページ), 更新 (1 ページ)

Start Here
Guía de instalación
Epson Stylus
Please read these instructions before using the printer.
Lea esta guía antes de utilizar el producto.
1
Check contents
Verifique el contenido
If anything is missing, contact Epson
Si falta alguna pieza, comuníquese con Epson
2
Unpack the CX4400 Series
Desembale la CX4400 Series
1
Remove all the tape
and cardboard.
Retire toda la cinta adhesiva
y el material de protección.
2
Lift up the scanner.
Levante la unidad
del escáner.
3
Remove the tape holding the ink cartridge holder in place.
Despegue la cinta adhesiva del soporte de cartuchos de tinta.
Don't touch the
white cable.
No toque el
cable blanco.
*411051900*
*411051900*
®
CX4400 Series
®
as described on the back.
®
como se indica al dorso.
4
Hold the scanner
while you release the
support. Then close
the scanner.
Caution: Do not try
to close the scanner
without releasing
the support, or you
might damage the
CX4400 Series.
Sujete la unidad del escáner con una mano y con la otra suelte el
soporte. Después, baje la unidad del escáner.
Precaución: no trate de bajar la unidad del escáner sin soltar el
soporte ya que podría dañar la unidad.
3
Turn on the CX4400 Series
Encienda la CX4400 Series
1
Connect the power
cable.
Conecte el cable de
alimentación.
2
Press the
On
button.
Oprima el
botón
On.
4
Install cartridges
Instale los cartuchos
Caution: Do not open the ink cartridge package until you are ready to
install the ink. Cartridges are vacuum packed to maintain reliability.
Note: The first time you install ink cartridges, the printer uses some ink
to charge the printing system, so print yields may be lower with the first
cartridges. Subsequent ink cartridges will last their full rated life.
Precaución: no saque los cartuchos de tinta de su envoltorio hasta que
esté listo para instalarlos. Los cartuchos están embalados herméticamente
para garantizar su fiabilidad.
Nota: los cartuchos de tinta incluidos tienen un menor rendimiento debido
al proceso de inicialización. Los cartuchos de tinta subsiguientes durarán
la vida útil esperada.
1
Lift up the scanner.
Levante la unidad del escáner.
2
Shake the ink cartridges, then
unpack them.
Agite los cartuchos,
luego desembálelos.
