- ページ 8

スイッチ Cisco Aironet 350 SeriesのPDF クイック・スタート・マニュアルをオンラインで閲覧またはダウンロードできます。Cisco Aironet 350 Series 12 ページ。 Managed switches
Cisco Aironet 350 Series にも: クイック・スタート・マニュアル (12 ページ), リリースノート (14 ページ), クイック・スタート・マニュアル (16 ページ), クイック・スタート・マニュアル (12 ページ), クイック・スタート・マニュアル (2 ページ), マニュアル (10 ページ), 知る (16 ページ), クイック・スタート・マニュアル (5 ページ)
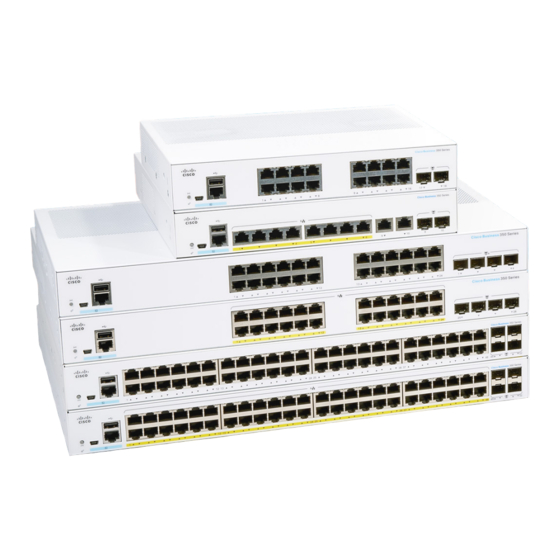
Cisco Aironet 350 Series クイック・スタート・マニュアル
4

Configure the Bridge

After you have determined or assigned the bridge's IP address, you can use the management pages to
configure the bridge for basic operation.
Open your web browser. You must use Microsoft Internet Explorer or Netscape
Step 1
Navigator/Communicator, version 4.0 or later.
Enter the bridge's IP address in the browser address line and press Enter. Depending on the
Step 2
method used to assign the IP address, either the Summary Status (Home) screen or the Express
Setup screen (see below) opens.
Note If the Summary Status (Home) screen appears, click Setup and Express Setup
to open the Express Setup screen.
If you assigned a static IP address to the bridge by using IPSU, select None from the
Step 3
Configuration Server Protocol pull-down menu and verify that the correct IP address is listed
in the Default IP Address field.
8