- ページ 15
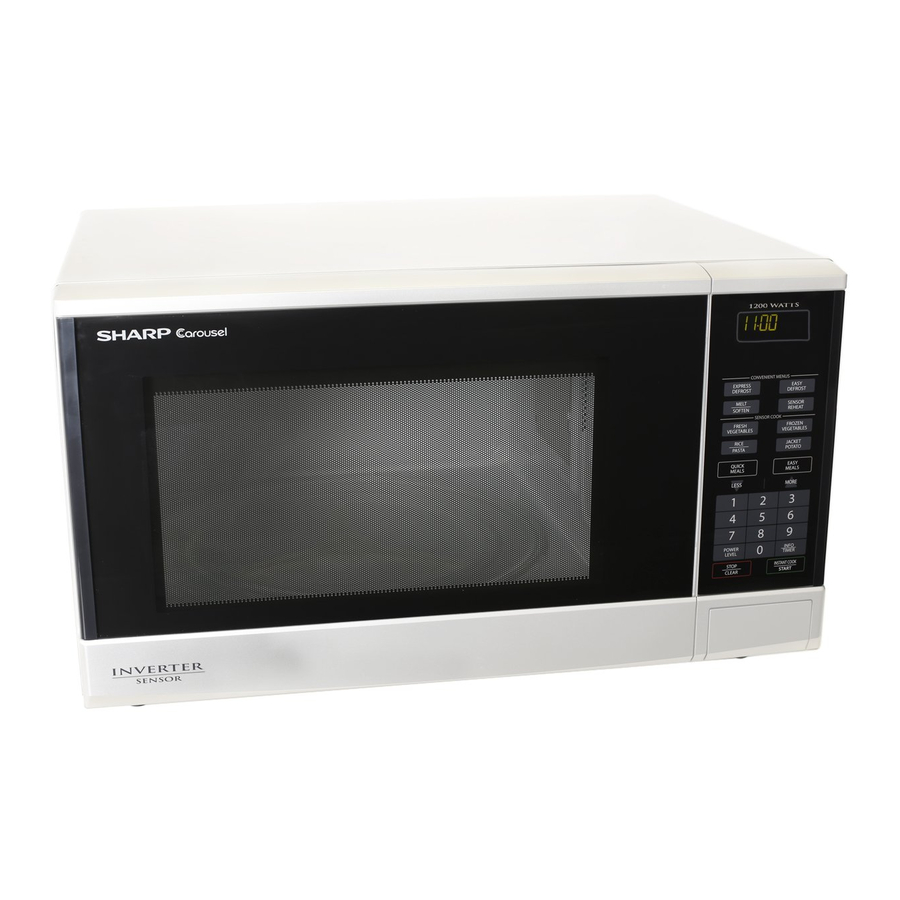
電子レンジ Sharp Carousel R-350YSのPDF サービスマニュアルをオンラインで閲覧またはダウンロードできます。Sharp Carousel R-350YS 40 ページ。 Microwave oven
[8] H: KEY UNIT (MEMBRANE SWITCH) TEST
1. CARRY OUT 3D CHECKS.
2. If the display fails to clear when the STOP/CLEAR pad is depressed, first verify the flat ribbon cable is making good contact, verify that the 2nd.
Interlock relay control switch operates properly; that is the contacts are closed when the door is closed and open when the door is open.
3. If the 2nd. Interlock relay control switch is good, disconnect the flat ribbon cable that connects the key unit to the control unit and make sure the
2nd. interlock relay control switch is closed (either close the door or short the 2nd. interlock relay control switch connector).
4. Disconnect the leads to the primary of the inverter unit.
5. Ensure that the leads remain isolated from other components and oven chassis by using insulation tape.
6. After that procedure, reconnect the power supply cord.
7. Use the key unit matrix indicated on the control panel schematic and place a jumper wire between the pins that correspond to the STOP/CLEAR
pad making momentary contact. If the control unit responds by clearing with a beep the key unit is faulty and must be replaced. If the control unit
does not respond, it is faulty and must be replaced. If a specific pad does not respond, the above method may be used (after clearing the control
unit) to determine if the control unit or keypad is at fault.
8. CARRY OUT 4R CHECKS.
39
G9
40
G10
41
G11
42
G12
43
(G13)
[9] I: PROCEDURES TO BE TAKEN WHEN THE FUSE F1 ON THE PRINTED WIRING BOARD
(PWB) IS OPEN
To protect the electronic circuits, this model is provided with the FUSE F1 added to the primary on the PWB. If the FUSE F1 is open, follow the trou-
bleshooting guide given below for repair.
CARRY OUT 3D CHECKS.
S
T
E
P
S
1
The rated AC voltage is not present primary side of low voltage transformer.
2
The rated AC voltage is present to primary side of low voltage transformer.
3
T
h
e
u f
s
e
F
1
s i
b
o l
w
. n
NOTE: *At the time of making these repairs, make a visual inspection of the varistor. Check for burned damage and examine the transformer with a
tester for the presence of layer short-circuit (check the primary coil resistance). If any abnormal condition is detected, replace the control unit.
CARRY OUT 4R CHECKS.
[10] J: HUMIDITY SENSOR TEST
Checking the initial sensor cooking condition
WARNING: The oven should be fully assembled before following procedure.
1) The oven should be plugged in at least two minutes before sensor cooking.
2) Room temperature should not exceed 95 F (35 C).
3) The unit should not be installed in any area where heat and steam are generated. The unit should not be installed, for example, next to a conven-
tional surface unit. Refer to the "INSTALLATION INSTRUCTIONS" of the operation manual.
4) Exhaust vents are provided on the back of the unit for proper cooling and air flow in the cavity. To permit adequate ventilation, be sure to install so
as not to block these vents. There should be some space for air circulation.
5) Be sure the exterior of the cooking container and the interior of the oven are dry. Wipe off any moisture with a dry cloth or paper towel.
38
37
36
G8
G7
G6
STOP
CLEAR
4
INFO
1
TIMER
POWER
INSTANT COOK
LEVEL
START
7
LESS
O
C
C
U
R
R
E
N
C
E
< KEY UNIT >
35
34
33
G5
G4
G3
EASY
2
MORE
MEALS
5
RICE
6
PASTA
0
JACKET
3
POTATO
QUICK
8
9
MEALS
Check supply voltage and oven power cord.
Low voltage transformer or secondary circuit defective.
Replace the control unit.
*
R
e
p
a l
c
e
8 – 4
32
31
G2
G1
SENSOR
EASY
REHEAT
DEFORST
FRESH
VEGETABLES
FROZEN
VEGETABLES
MELT
EXPRESS
SOFTEN
DUNNER PLATE
C
A
U
S
E
O
R
C
O
R
R
E
C
I T
O
N
h t
e
c
o
n
r t
l o
u
n
. t i
R-350Y(S)