- ページ 24
電子レンジ Sharp Carousel R-350YSのPDF サービスマニュアルをオンラインで閲覧またはダウンロードできます。Sharp Carousel R-350YS 40 ページ。 Microwave oven
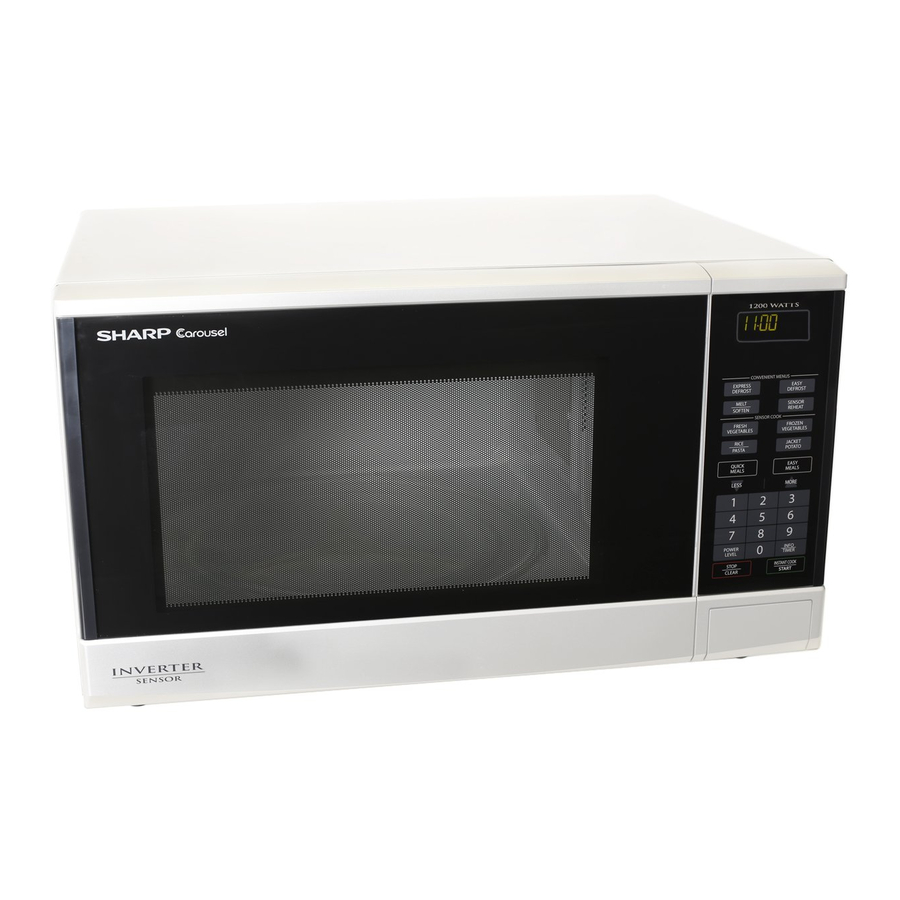
R-350Y(S)
[5] POSITIVE LOCK CONNECTOR (NO-CASE TYPE) REMOVAL
1. CARRY OUT 3D CHECKS.
2. Push the lever of positive lock
3. Pull down on the positive lock
CAUTION: WHEN CONNECTING THE POSITIVE LOCK
TORS TO THE TERMINALS, CONNECT THE POSITIVE
LOCK
SO THAT THE LEVER FACES YOU.
[6] CONTROL PANEL ASSEMBLY REMOVAL
1. Disconnect the power supply cord and then remove outer case.
2. Open the door and block it open.
3. Discharge high voltage capacitor.
4. Disconnect the wire leads from control unit.
[7] GRAPHIC SHEET AND MEMBRANE SWITCH REPLACEMENT
1. REMOVAL
1. CARRY OUT 3D CHECKS.
2. Remove the control panel assembly, referring to chapter of CON-
TROL PANEL ASSEMBLY REMOVAL.
3. Remove the four (4) screws holding the control unit to the control
panel frame. And remove the control unit.
4. Tear away the graphic sheet from the control panel frame.
5. Tear away the membrane switch from the control panel frame.
2. REINSTALL
1. Remove remaining adhesive on the control panel frame surfaces
with a soft cloth soaked in alcohol.
2. Tear the backing paper from the new membrane switch.
3. Insert the ribbon cable of the membrane switch into the slit of the
control panel frame.
4. Adjust the upper edge and right edge of the membranes witch to
the small depression on the surface of the control panel frame.
5. Attach the membrane switch to the control panel frame by rubbing
with a soft cloth not to scratch.
6. Tear the backing paper from the new graphic sheet.
7. Adjust the upper edge and left edge of the graphic sheet to the
large depression on the surface of the control panel frame.
8. Attach the graphic sheet to the control panel frame by rubbing with
a soft cloth not to scratch.
[8] TURNTABLE MOTOR REMOVAL
1. Disconnect the power supply cord.
2. Remove turntable and turntable support from oven cavity.
3. Lay the oven on it's backside. Remove the turntable motor cover by
snipping off the material in four corners.
4. Where the corners have been snipped off bend corner areas flat.
No sharp edges must be evident after removal of the turntable
motor cover.
connector.
connector.
CONNEC-
Positive lock
connector
Lever
Figure C-1. Positive lock , connector
5. Remove the one (1) screw holding the control panel assembly to
the oven fl ange.
6. Slide the control panel assembly upward and remove it.
7. Now, individual components can be removed.
9. Insert the ribbon cable into the slit of the control unit.
10.Reinstall the control unit to the control panel frame with four (4)
screws.
11. Connect membrane switch's ribbon cable to the connector CN-G of
the control unit.
Ribbon
cable
Graphic sheet
Figure C-2.Graphic Sheet and Membrane Switch Replacement
5. Disconnect wire leads from turntable motor.
(See "Positive lock connector removal")
6. Remove one (1) screw holding turntable motor to oven cavity.
7. Now the turntable motor is free.
8. After replacement use the one (1) screw (XHPS740P08K00) to fit
the turntable motor cover.
12 – 3
Terminal
R
1
Push
2
Pull down
Control panel frame
Slit
Large
depression
Small
depression
Membrane
switch