- ページ 31
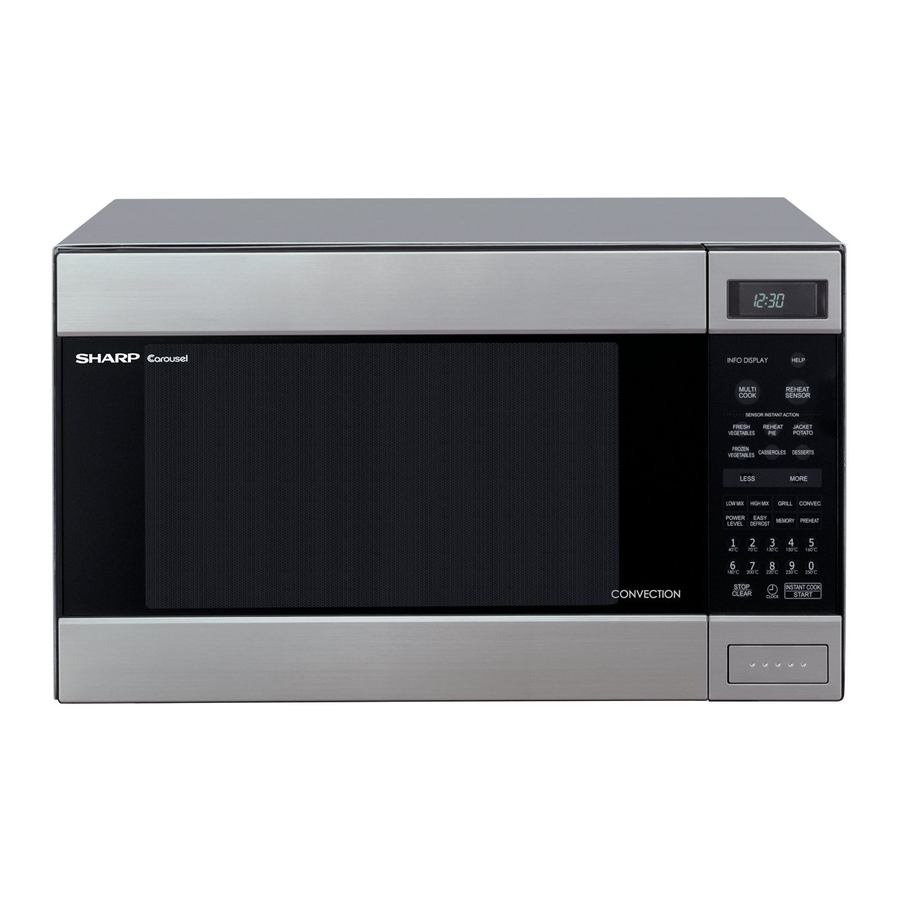
電子レンジ Sharp Carousel R-990KのPDF サービスマニュアルをオンラインで閲覧またはダウンロードできます。Sharp Carousel R-990K 48 ページ。 Convection microwave oven
Sharp Carousel R-990K にも: 操作マニュアル (41 ページ)

1. Door latch heads smoothly catch the latch hook through the latch
holes, and the latch head goes through the center of the latch hole.
2. Deviation of the door alignment from horizontal line of cavity face
plate is to be less than 1.0mm.
3. The door is positioned with its face depressed toward the cavity
face plate.
4. Re-install outer case and check for microwave leakage around the
door with an approved microwave survey meter. (Refer to Micro-
wave Measurement Procedure.)
NOTE: The door on a microwave oven is designed to act as an elec-
tronic seal preventing the leakage of microwave energy from
the oven cavity during the cook cycle. This function does not
require that the door be air-tight, moisture (condensation)-tight
or light-tight. Therefore, the occasional appearance of mois-
ture, light or the sensing of gentle warm air movement around
the oven door is not abnormal and do not of themselves, indi-
cate a leakage of microwave energy from the oven cavity. If
such were the case, your oven could not be equipped with a
vent, the very purpose of which is to exhaust the vapor-laden
air from the oven cavity.
[19] DOOR DISASSEMBLY
Remove door assembly, referring to "Door Replacement".
Replacement of door components are as follows:
CHOKE COVER
1. Place door assembly on a soft cloth with latches facing up.
NOTE: As the engaging part of choke cover and door panel are pro-
vided at several places, do not force any particular part.
2. Insert an putty knife (thickness of about 0.5mm) into the gap
between the choke cover and corner portion of door panel as
shown Figure C-2 to free engaging parts.
3. Lift up choke cover.
4. Now choke cover is free from door panel.
2 LIF T UP
P UT T Y K NIF E
1 B E NT
C HOK E C OV E R
Figure C-2. Door Disassembly
B ent
INS IDE
Door
C hoke
P anel
cover
Upper
Lower
F R ONT
10 – 6
R E -INS T ALL
DOOR AS S E MB LY
LAT C H
HE ADS
R E -INS T ALL
DOOR PANEL
5. Remove the eleven (11) screws holding the door panel to the door
frame.
NOTE: The one (1) screw of the eleven (11) screws also holds the
earth terminal of the door decoration to the door frame.
6. Remove the door panel from the door frame. Now the door panel is
free.
DOOR GLASS
7. Remove the two (2) screws holding the thermal plate U to the door
frame.
8. Remove the two (2) screws holding the thermal plate R to the door
frame.
9. Remove the thermal plate U and the thermal plate R from the door
frame.
10.Slide the door glass upward.
11. Release the lower edge of the door glass from the door frame.
12.Release the upper edge of the door glass from the door frame.
13.Remove the door glass from the door frame. Now the door glass is
free.
DOOR DECORATION AND DOOR FRAME
14.Straighten all tabs of the door decorations U and L.
15.Remove the door decorations U and L from the door frame.
16.Now the door decorations U and L and door frame are free.
R990K(W)
UP P E R OV E N HING E
LOWE R OV E N HING E
