- ページ 5
顕微鏡 Digital Blue QX5のPDF ユーザーマニュアルをオンラインで閲覧またはダウンロードできます。Digital Blue QX5 11 ページ。 Computer microscope

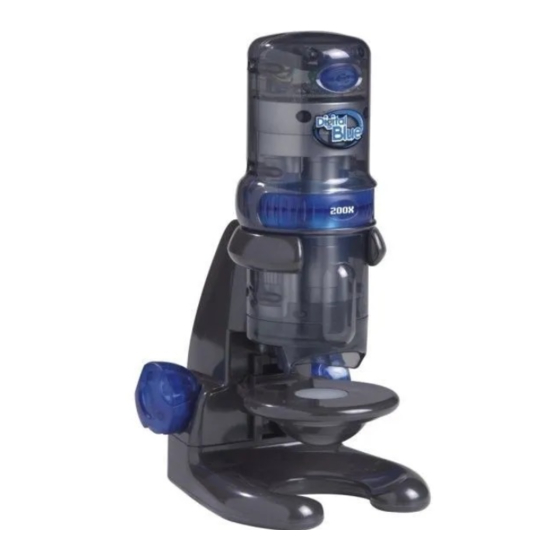
You can also use the microscope on the stand to view small solid objects and
living specimens with top lighting. You can put a bug or a slug in the containment
dish with lid to look at, take magnified snapshots, or make short movies.
Adding Light
Ordinary household light works fine with the microscope. You may want to place
a high-intensity desk lamp near the microscope to add top lighting when using
medium or high magnification.
Using Handheld Mode
Once you get the hang of using the microscope in Live Mode, you can experiment
with Handheld Mode. Simply remove the microscope from its base in Live Mode.
Some of the things you can look at are your nose, toes, and teeth, your feet,
the hair on your arm, the scab on your knee, your bellybutton, your fingerprints
or your ear.
Use low magnification in handheld mode. If your hand shakes too much at a
medium and high magnification, the sample won't stay in focus, and there may
not be enough light to get a good picture.
If you ever get confused, you can click the Help button to hear Audio help.
Movies
Use the record button if you want to capture
a moving bug or a wriggling worm.
Use these steps to create a movie:
1. Prepare your specimen (do this away from your computer and microscope to
avoid damaging spills) and place it below the microscope's lens.
7
2. Choose the level of magnification you want to use. Refer to the section on
Changing Magnification in this guide to find the right level.
3. Carefully bring your specimen into focus by slowly adjusting the focus knobs.
4. Press the Record button.
Recording Indicator
When you are capturing a movie, the bar in the recording indicator fills up to
show progress, and a counter under the Record button shows how long you
have been recording. You can stop recording by clicking the Stop button.
Recording will stop automatically when the status bar is full or there is no
more available disk space.
Movie Playback Controls
Once you've captured a movie, the Recording indicator changes into
Playback controls. You preview your movie in the small window by
clicking the arrow on the left side of the control. You can move through
your movie one frame at a time by clicking Forward or Backward arrows
on the right side.
Making Time-lapse Movies
Time-lapse button
To create a time-lapse movie, select the Time-lapse button in Live Mode.
When you click the button, a panel opens on the bottom right side
of the screen.
8
