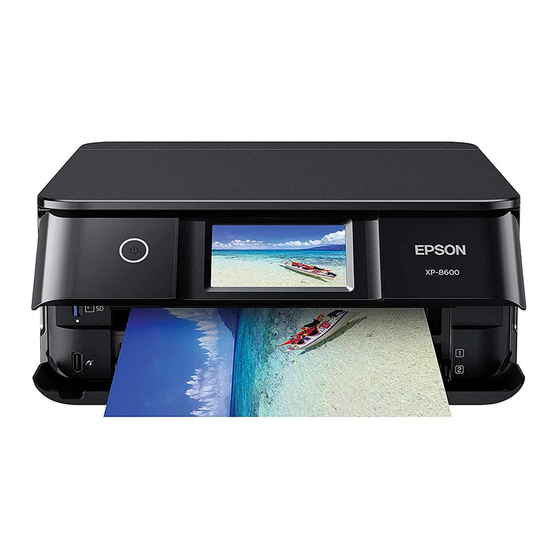
プリンター Epson XP-8600 Small-in-OneのPDF ここからスタートをオンラインで閲覧またはダウンロードできます。Epson XP-8600 Small-in-One 4 ページ。

XP-8600 Small-in-One
Start Here
IMPORTANT: Before using this product, make sure you read
these instructions and the safety instructions in the online
User's Guide.
Note:
This printer is designed for use with Epson
third-party cartridges or ink. For important ink information, visit
www.epson.com/epsonink (U.S.) or www.epson.ca/epsonink (Canada)
or see your printer box.
1
Unpack
Note:
• Do not open ink cartridge packages until you are ready to install the
ink. Cartridges are vacuum packed to maintain reliability.
• Do not throw away the protective material shown above. Tape this
piece to the top of the ink cartridge holder when transporting your
product. For more information, see the online User's Guide.
• The CD/DVD tray is stored underneath cassette 2.
1
Remove all protective materials from the product.
2
Lift up the scanner unit. Remove all protective materials
from inside the product.
Printer
®
cartridges only, not
®
Protective
material
3
Lower the scanner unit.
2
Turn on and configure
1
Connect the power cord to the back of the printer and to
an electrical outlet.
Caution:
Do not connect to your computer yet.
2
Turn on the product, then adjust the control panel.
3
Select your language.
Note:
• You can change this setting later using the product's control
panel. For more information, see the online User's Guide.
• If an error message appears, turn off the product and check
that no protective material has been left inside the product.
3
Install ink cartridges
Caution:
Keep the ink cartridges out the reach of children and do not
drink the ink.
Note:
The included initial cartridges are designed for reliable printer
setup and cannot be used as replacement cartridges or resold. After
setup, the remaining ink is available for printing.
1
Lift up the scanner unit.
Caution:
Do not touch the flat, white cable or the print head
path.
