- ページ 21

洗濯機 Siemens Washing machineのPDF 取扱説明書をオンラインで閲覧またはダウンロードできます。Siemens Washing machine 28 ページ。 Washing machine
Siemens Washing machine にも: インストレーション&メンテナンスマニュアル (10 ページ), 取扱説明書 (8 ページ), 取付説明書 (6 ページ), 取扱説明書および取付説明書 (28 ページ), クイック・リファレンス・インストラクション (2 ページ), クイック・リファレンス・インストラクション (2 ページ), クイック・リファレンス・インストラクション (2 ページ), 取扱説明書および取付説明書 (28 ページ), 取付説明書 (6 ページ), 取扱説明書 (10 ページ), クイック・リファレンス・インストラクション (2 ページ), 取扱説明書 (10 ページ), 取扱説明書 (28 ページ), 取扱説明書 (10 ページ)
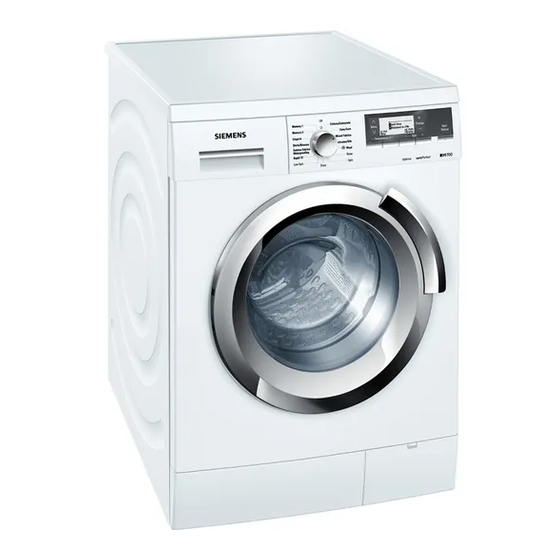
Siemens Washing machine 取扱説明書

Cleaning and Care

Danger of electric shock!
Completely disconnect the washing machine
from the mains.
Never clean the washing machine with a jet
of water.
Danger of explosion!
Never use solvents for cleaning.
Danger of freezing
When there is danger of freezing, remove the
water-inlet hose and completely drain the
washing machine.
In this way, excess water that could still be in
the dispenser will be drained out.

Cabinet

Use only soap and water.
Control panel, base, etc.:
Use only a moist towel.
Do not use:
• Scouring powder
• Metal pads or plastic sponges
• Alcohol-based products (alcohol, diluents,
etc.)
Interior components
It is suggested:
• To leave the lid open for some time after
washing.
• To clean the plastic and rubber parts of
the washtub inlet about once a month with
soapy water. Rinse thoroughly to remove
all traces of this cleaning material.
• It is suggested that the 90°C washing
program be run at regular intervals.
Filter in the water inlet
•It is recommended to clean the filter in the
water inlet regularly.
Detergent compartment
Clean the detergent dispenser regularly. For
this purpose:
- To remove the detergent dispenser,
squeeze both pressure points
simultaneously (Figure 10) . The dispenser
then detaches itself from the compartment
(Figure 10) .
- Remove components
of the dispenser
front cover
(Figure 11) .
- Rinse the parts under running water.
Completely empty the dispenser.
- Reassemble all components in the proper
order. Snap the detergent compartment
into place under the lid of the washing
machine.
Figure 10
Figure 11
21
at the rear
and separate from the