- ページ 8

IP電話 Cisco 7961のPDF ユーザーマニュアルをオンラインで閲覧またはダウンロードできます。Cisco 7961 18 ページ。 Multi-line ip phones
Cisco 7961 にも: ユーザーマニュアル (19 ページ), ユーザーマニュアル (6 ページ), ユーザーマニュアル (6 ページ), ユーザーマニュアル (14 ページ), ユーザーマニュアル (6 ページ), クイック・スタート・マニュアル (6 ページ), ユーザーマニュアル (17 ページ), クイック・リファレンス・マニュアル (2 ページ), クイック・リファレンス・マニュアル (2 ページ), クイック・スタート・マニュアル (21 ページ), ユーザーマニュアル (4 ページ), クイック・リファレンス・マニュアル (4 ページ), セッティング (11 ページ), クイック・リファレンス・マニュアル (1 ページ), ユーザーマニュアル (2 ページ), ユーザーマニュアル (2 ページ), ユーザーマニュアル (2 ページ), ハウツー・マニュアル (3 ページ), 手紙 (2 ページ), リファレンス・マニュアル (3 ページ), クイック・リファレンス・ユーザー・マニュアル (2 ページ), クイック・スタート・マニュアル (2 ページ)
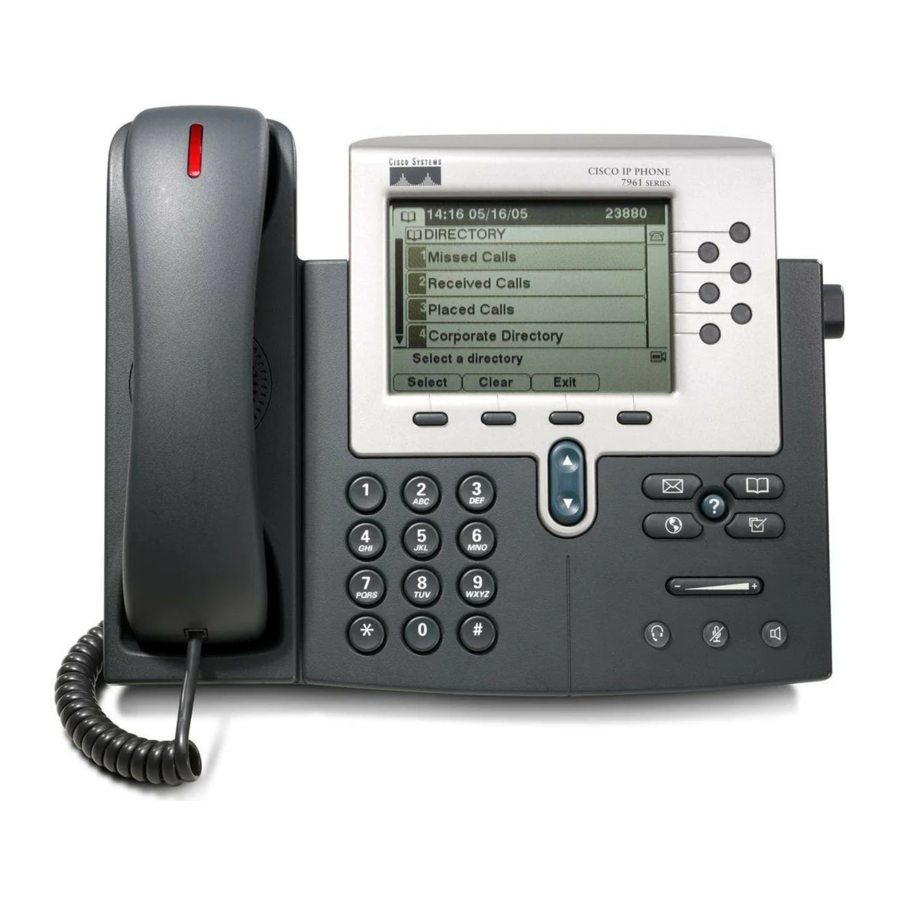
Cisco 7961 ユーザーマニュアル
4. To return to the first caller, press the Softkey located directly below the word
Hold on the LCD screen which will place the second caller on hold.
5. Press the Up or Down scroll arrows, located below the LCD screen to highlight
the original caller's ID.
6. Press the Softkey located directly below the words Resume on the LCD screen
to return to the original caller.
7. To end the call, press the Softkey located directly below the words End Call on
the LCD screen to drop the active caller.
8. Press the Up or Down scroll arrows, located below the LCD screen to highlight
the remaining caller's ID.
9. Press the Softkey located directly below the word Resume on the LCD screen to
return to the selected caller.
Using multiple lines
On some phones, multiple lines may be available. Callers are automatically put on hold
when a user moves from one line to another. The buttons for the different available lines
are located on the right hand side of the LCD screen. A telephone icon is displayed on
the screen for each line.
Martinez Unified School District 
Phone and Voicemail Users Guide for Cisco 7961 Phones