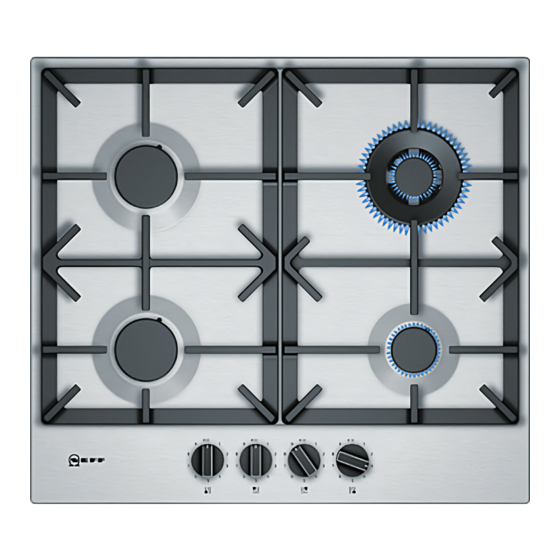
- ページ 15
ホブ Siemens T68TS61N0のPDF ユーザーマニュアルをオンラインで閲覧またはダウンロードできます。Siemens T68TS61N0 16 ページ。

3Trouble shooting
DO NOT MODIFY THIS APPLIANCE.
T r o u b l e s h o o t i n g
Only authorized personnel from the Service Centre are
qualified to work on the appliance.
Fault
The general electrical system
is malfunctioning.
The automatic switching on
function does not work.
The burner flame is not uni-
form.
The gas flow is not normal or
there is no gas.
The kitchen smells of gas.
The burner immediately
switches off after releasing the
control knob.
Any of the following are considered to be abnormal
operation and may require servicing:
Yellow tipping of the cooktop burner flame.
■
Sooting up of cooking utensils.
■
Burners not lighting properly.
■
4Customer service
When contacting our Technical Assistance Service,
C u s t o m e r s e r v i c e
please provide the product number (E-Nr.) and
production number (FD) of the appliance. This
information is given on the specifications plate located
on the lower section of the hob and on the label in the
user manual.
After-sales contact details for all countries can be found
in the attached after-sales service directory.
Possible cause
Defective fuse.
The automatic safety switch or circuit breaker has
tripped.
There may be food or cleaning products stuck between
the ignition sparkers and the burners.
The burners are wet.
The burner caps are not correctly positioned.
The appliance is not earthed, is poorly connected or the
earthing is faulty.
The burner components are not correctly positioned.
The grooves on the burner are dirty.
The gas supply is blocked by gas taps.
If the gas is supplied from a gas cylinder, check that it is
not empty.
A gas tap has been left on.
Incorrect coupling of gas cylinder.
Possible gas leak.
The control knob was not held down for long enough.
The grooves on the burner are dirty.
Sometimes certain faults detected can be easily
resolved. Before calling the Technical Assistance
Service, bear in mind the following advice:
Solution
Check the fuse in the main fuse box and change it if it is
damaged.
Check the main control panel to see if the automatic safety
switch or circuit breaker has tripped.
The space between the ignition sparker and the burner
must be clean.
Dry the burner caps carefully.
Check that the burner caps are correctly positioned.
Contact the installation technician.
Correctly place the parts on the appropriate burner.
Clean the grooves on the burner.
Open all gas taps.
Change the gas cylinder.
Turn off the taps.
Check that the coupling is sound.
Shut off the gas supply, ventilate the premises and imme-
diately notify an authorised installation technician to check
and certify the installation. Do not use the appliance until
ensuring that there is no gas leak in the installation or
appliance itself.
Once the burner is on, hold the control knob down a few
seconds longer.
Clean the grooves on the burner.
Gas valves, which are difficult to turn in case the
appliance fails to operate correctly, contact the
authorised service provider in your area.
Warranty conditions
In the unlikely event that the appliance is damaged or
does not meet your expectations in terms of quality,
please inform us as soon as possible. For the warranty
to be valid, the appliance must not have been tampered
with, or used inappropriately.
The applicable warranty conditions are those set out by
the company's representative office in the country of
purchase. Detailed information is available from retail
outlets. Proof of purchase must be presented to obtain
the benefits of the warranty.
We reserve the right to introduce changes.
Trouble shooting
en
15
