- ページ 5

IP電話 Cisco Small Business SPA525G2のPDF クイック・スタート・マニュアルをオンラインで閲覧またはダウンロードできます。Cisco Small Business SPA525G2 21 ページ。 Vpn status
Cisco Small Business SPA525G2 にも: データシート (6 ページ), クイック・スタート・マニュアル (2 ページ), ユーザーマニュアル (8 ページ), ユーザーマニュアル (22 ページ), クイック・スタート・マニュアル (14 ページ), 設定マニュアル (12 ページ), 設定マニュアル (12 ページ), クイック・リファレンス・カード (2 ページ), ユーザーマニュアル (47 ページ), クイック・スタート・マニュアル (8 ページ), クイック・スタート・マニュアル (3 ページ), クイック・スタート・マニュアル (3 ページ), クイック・スタート・マニュアル (3 ページ), クイック・スタート・マニュアル (4 ページ), マニュアル (3 ページ), マニュアル (3 ページ), 設定 (9 ページ), クイック・スタート・マニュアル (2 ページ), クイック・スタート・マニュアル (2 ページ)
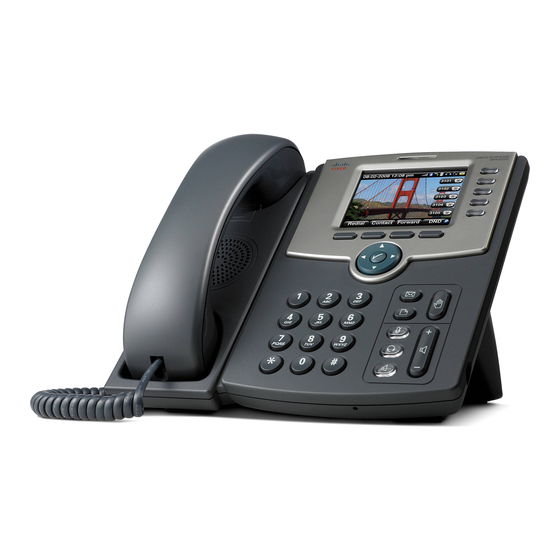
Cisco Small Business SPA525G2 クイック・スタート・マニュアル
1
2
5
1. Auxiliary port. Only for use with the Cisco
Attendant Console.
2. Power Port. Insert the Power Adapter into this
port. (Use only with a Cisco PA100 Power Adapter.)
3. Additional Ethernet Port. Connect an Ethernet
cable to this port to provide network connectivity
to a PC. (This port cannot be used when the phone
is connected to the network by using the built-in
Wireless-G client.)
4. Ethernet Port. Connect the network cable to this
port.
5. Phone Cord Slot. Insert one end of the Phone
3
Cord into this slot and the other into the jack at the
bottom of the Handset.
4
USB Port (not pictured). For use with an external USB
memory device (optional). You can also use the USB
Port to charge a device such as a mobile phone.
Once the phone has been plugged in and
operational, the voicemail box is functional with a
default greeting.
5