- ページ 7
オール・イン・ワン・プリンター Ricoh SP 212SNwのPDF セットアップマニュアルをオンラインで閲覧またはダウンロードできます。Ricoh SP 212SNw 25 ページ。
Ricoh SP 212SNw にも: セットアップマニュアル (25 ページ), セットアップマニュアル (24 ページ), セットアップマニュアル (24 ページ), セットアップマニュアル (24 ページ), セットアップマニュアル (24 ページ), セットアップマニュアル (24 ページ), セットアップマニュアル (24 ページ)
Setting the Outside Line Ac-
cess Number
If you have selected PBX, use the following
procedure.
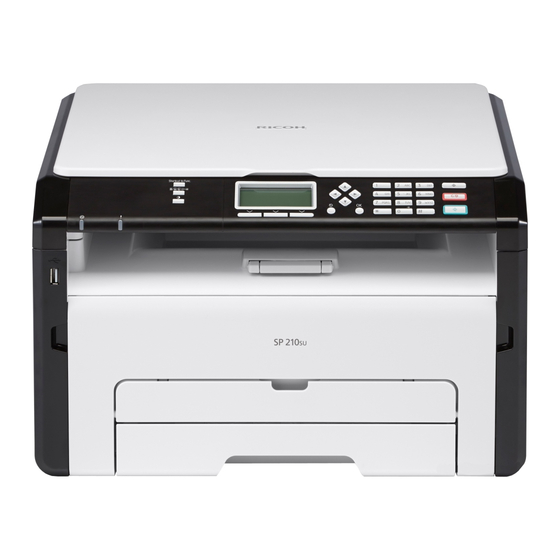
Press the [
Press the [ ] or [ ] keys to select
[Admin. Tools], and then press the
[OK] key.
Press the [ ] or [ ] keys to select
[PBX Access Number], and then press
the [OK] key.
Enter the outside line access number
using the number keys, and then
press the [OK] key.
Press the [
initial screen.
] key.
] key to return to the
Basic Operation for Sending a
Fax
Press the [
Place the original on the exposure
glass or in the ADF.
Enter the fax number using the
number keys.
Press the [
Depending on the machine's settings,
you may be prompted to enter the fax
number again if you manually entered the
destination fax number. In this case, re-
enter the fax number within 60 seconds,
press [OK], and then press the [
If the fax numbers do not match, go back
to step 3.
If you have more originals to scan,
press [Yes] within 60 seconds, place
the next original on the exposure
glass, and then press [OK]. Re-
peat this step until all originals are
scanned.
When all originals have been scanned,
press [No] to start sending the fax.
7
] key.
] key.
DCT806
DCT804
] key.