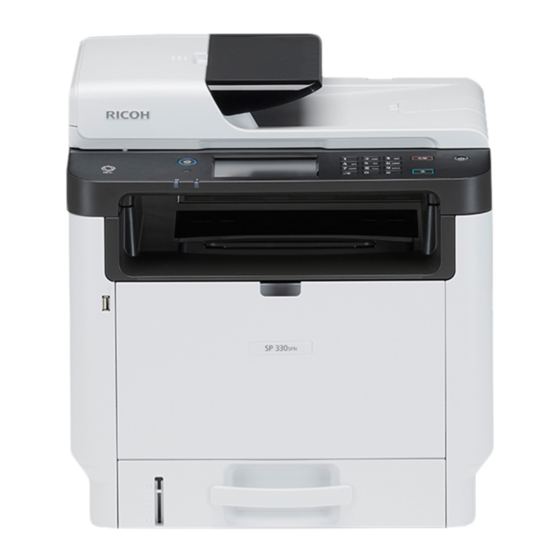
- 1. Setup Guide
- 2. Setting up the Machine
- 3. Installing the Software
- 4. Check How the Computer Is Connected
- 5. Use the Machine from a Smart Device
- 6. Connecting the Machine Via Wireless (Wi-Fi)
- 7. Connecting the Machine (Usb/Network)
- 8. Setting the Date and Time
- 9. Selecting the Telephone Line Type and Telephone Network Connection Type
- 10. Setting the Outside Line Access Number
- 11. Basic Operation for Sending a Fax
- 12. Scan Settings
3. FAX settings (SP 330SFN/3710SF only)
Connection
Connect a telephone line cord to LINE.
If using an external telephone, connect the telephone to TEL.
● Connect the public switched telephone network (PSTN) to Line. Connecting lines other than PSTN to this machine may cause
it to malfunction.
1
2
1. Port For External Telephone
2. Port For LINE
If you connect a modular cable to the G3 (analog) line interface connector, make a loop 3 cm (1.2 inches) (1) from the end of the modular cable
(connection side to the machine) and attach the included ferrite core to the loops as shown.
Setting the Date and Time
1.
Press [Setting].
2.
Press [Administrator Tools].
3.
If you are requested to enter a password, enter the
password using the number keys, and then press [OK].
DYG156
DVD001
4.
5.
6.
7.
8.
9.
10. Press [Set Time].
11. Press the time format you want to use.
12. Press the box.
13. Enter the current time, and then press [OK].
14. Confirm the time you entered is displayed, and then press
15. Press the [Home] key to return the initial screen.
A password for accessing the [Administrator Tools] menu can be
specified in [Admin. Tools Lock] under [Administrator Tools] menu.
Press [Set Date/Time].
Press [Set Date].
Press the date format you want to use.
Press the box.
Enter the current date, and then press [OK].
Confirm the date you entered is displayed, and then press
[OK].
When you select [12-hour Format], select [AM] or [PM].
[OK].
DYG157
19
