- ページ 9
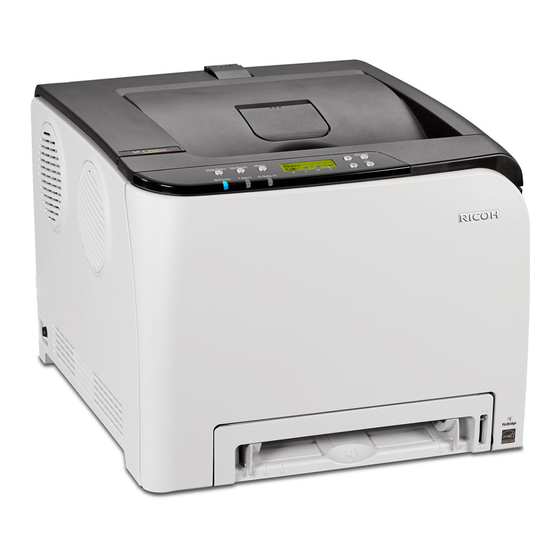
プリンター Ricoh SP C250DNのPDF スタートマニュアルをオンラインで閲覧またはダウンロードできます。Ricoh SP C250DN 42 ページ。 Color laser printers
Ricoh SP C250DN にも: 仕様 (4 ページ), 取扱説明書 (48 ページ)

Connect Printer
STEP 2
This section explains how to connect the printer to your computer based on the
setup method you selected in
2.1 USB Connection
A
USB cable
directly connects the printer to your computer. Even if the computer that you are connecting is
networked, you can still connect the printer according to the procedures outlined below.
To make a USB connection, proceed as follows:
1. Turn printer power switch Off.
2. Insert USB cable (rectangular plug) firmly into computer's USB port.
3. Before inserting the USB cable (rectangular plug) into the computer's USB port,
install the USB Printer Driver and Utility. See
Note: During software installation, you will be prompted to connect the USB cable
(square plug) to your printer, and turn the printer On.
2.2 Network Connection
Network connections include wired and wireless...
2.2.1 Wired (Ethernet) Connection
In a wired configuration, a network (Ethernet) cable connects the printer to your network hub (router) or
switch.
Important: The printer cannot connect to a wired (Ethernet) network and wireless LAN simultaneously.
To make a wired connection, proceed as follows:
1. Confirm that printer's power switch is Off.
2. Plug network cable into printer's Ethernet port.
3. Turn printer power switch On.
4. Next, install the Network Printer Driver. See
2.2.2 Wireless (Wi-Fi) Connection
Your new printer supports Wi-Fi Protected Setup (WPS), a network security standard
that allows Wi-Fi routers, e.g., Linksys, NETGEAR, etc., to easily connect, allowing
you to print to the device wirelessly. Also called Push Button Control, PBC simply
means that you can "Push 'n' Connect" two devices that support WPS; you don't
need to know the wireless network's security key/passphrase. So if you wish to
RICOH SP C250DN/SP C252DN Color Laser Printers
1.2 Choose Setup
Method.
3.1 USB Printer Driver
3.2 Network Printer Driver
Getting Started Guide
Install.
Install.
9
