- ページ 3
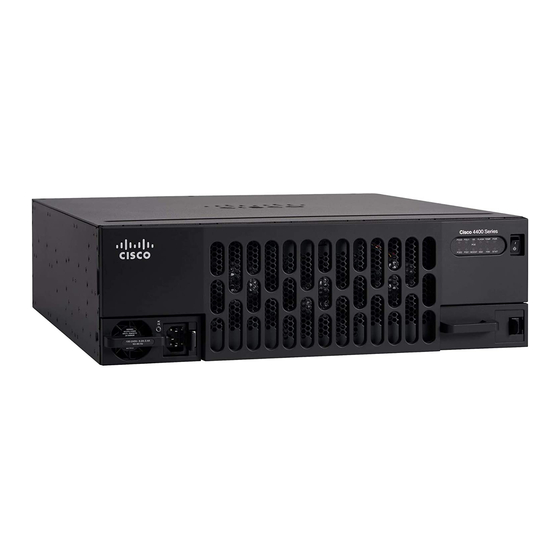
ネットワーク・ルーター Cisco 4700MのPDF インストレーション・マニュアルをオンラインで閲覧またはダウンロードできます。Cisco 4700M 18 ページ。 Upgrading memory
Cisco 4700M にも: 交換マニュアル (16 ページ), アップグレードマニュアル (24 ページ)

— Determine if the person needs rescue breathing or external cardiac compressions; then take
Required Tools and Parts
The following tools and parts are required for rack-mount and wall-mount procedures:
•
Screwdriver, number 1 or number 2 Phillips
•
Screwdriver, number 2 flat-blade
For wall-mounting, the following additional equipment is required:
•
Plywood board (19 x 19 x 1/2 inch minimum size)
•
Wood fasteners for attaching the board to the wall
Table 1 lists the parts contained in the standard rack-mount kit.
Table 1
Quantity
2
2
2
6
8
8
1
Table 2 lists the parts contained in the telco rack-mount and wall-mount kit.
Table 2
Quantity
2
2
4
8
4
1
Overview of Rack-Mount and Wall-Mount Procedures
The Cisco 4000 series routers can be mounted in a standard 19-inch rack, a telco 19-inch rack, or on
a wall. The procedures for the different mounting options involve removing the front panel and
component tray from the chassis shell and then installing the empty shell in position before
reinserting the component tray.
appropriate action.
Standard Rack-Mount Kit Components
Item
Rack-mount brackets
Short bracket extenders
Long bracket extenders
M3 machine screws
10-32 machine screws
8-32 flat-head machine screws
Installation diagram
Telco Rack-Mount and Wall-Mount Kit Components
Item
Telco rack-mount or wall-mount brackets
M3 machine screws
10-32 machine screws
8-32 flat-head machine screws
Hex-head wood screws (mounts chassis to plywood board)
Installation diagram
Cisco 4000 Series Rack-Mount and Wall-Mount Installation
Required Tools and Parts
3
