- ページ 9
スクーター C.T.M. HS-320のPDF 取扱説明書をオンラインで閲覧またはダウンロードできます。C.T.M. HS-320 17 ページ。 3-series mobility scooter
- 1. Table of Contents
- 2. Introduction
- 3. Important Precautions
- 4. Electromagnetic Interference and Warnings
- 5. Identification of Parts
- 6. Operating Your Scooter
- 7. Disassembling Your Scooter
- 8. Assembling Your Scooter
- 9. Charging the Batteries
- 10. Care and Maintenance
- 11. Troubleshooting
- 12. Technical Specifications
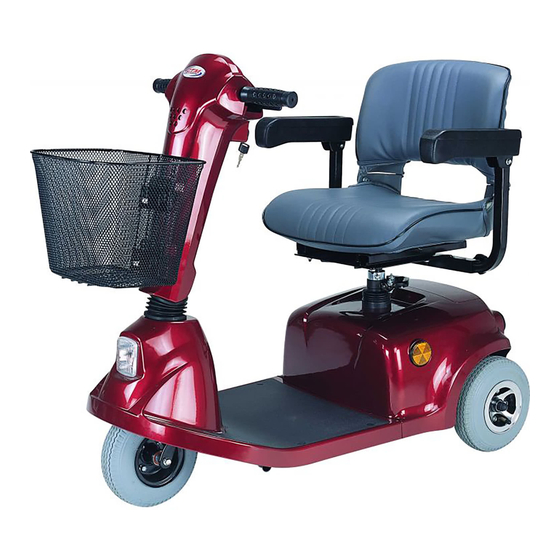
3-Series
OPERATING YOUR SCOOTER
You can make the following adjustments to increase your comfort when driving.
Adjust seat height and location
Tiller Angle Adjustment to comfortable position.
Adjust armrest width.
1.Before operating your scooter, check the following:
Free-wheeling device on D
Speed control knob All 5 LED for is at the turtle picture.
2.Sit on scooter and turn on key. The Power Reserve Indicator light should be lit. The
self-diagnostic warning light should not be blinking.
3.When your hands rest comfortably on the handlebars, the thumb control levers should
be within easy reach. The right lever moves the scooter forward, the left one moves it
backward. When you release both levers the scooter will stop.
This scooter has automatic braking systems. Release the thumb control
levers and the brakes will stop the scooter.
4.Steer the scooter by turning the whole steering column the way you want to go.
5.Practice driving where there are no obstacles. Start at the slowest speed and drive
forward and backward; make some turns. As you get more comfortable you can increase
the speed by turning the speed control knob toward the picture of the rabbit.
6.If the Power Reserve Indicator becomes lit in only few LED, you should plan to recharge
the batteries very soon.
7.If the scooter stops, locate the circuit breaker in the storage area. Press it and try the
scooter again.
8.When you are finished riding, turn off the key before getting off.
9.If you are finished riding for the day, immediately recharge the batteries. See CHARGING
THE BATTERIES, page 12.
7
Instruction Booklet