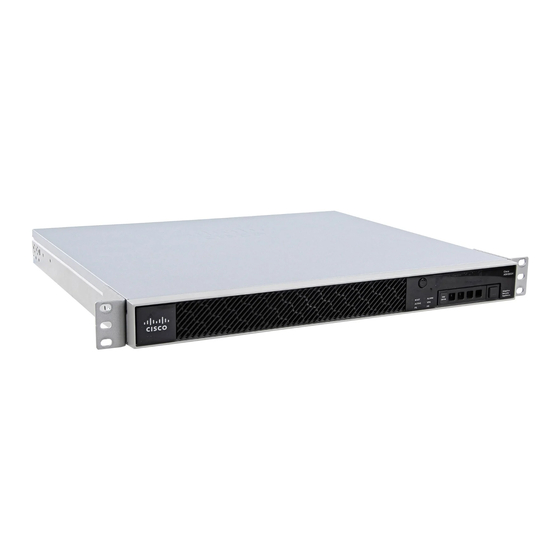
- ページ 6
無線アクセスポイント Cisco ASA 5506-XのPDF クイック・スタート・マニュアルをオンラインで閲覧またはダウンロードできます。Cisco ASA 5506-X 14 ページ。 Threat defense reimage guide
Cisco ASA 5506-X にも: クイック・スタート・マニュアル (10 ページ), 簡単セットアップマニュアル (11 ページ), ソフトウェアマニュアル (37 ページ), マウント&コネクト (12 ページ), インストレーション・マニュアル (46 ページ), シャーシをマウントする (10 ページ), ハードウェア・インストール・マニュアル (26 ページ)

Cisco Firepower Threat Defense for the ASA 5506-X Series Using Firepower Device Manager Quick Start Guide
Procedure
1.
Connect the GigabitEthernet 1/1 (outside) interface to your ISP/WAN modem or other outside device. By
default, the IP address is obtained using DHCP, but you can set a static address during initial configuration.
2.
Connect a local management workstation to GigabitEthernet 1/2 (or another of the inside bridge group
member interfaces).
3.
Configure the workstation to obtain an IP address using DHCP. The workstation gets an address on the
192.168.1.0/24 network.
Note:
You have a couple of other options for connecting the management workstation. You can also directly
connect it to the Management port. The workstation gets an address through DHCP on the 192.168.45.0/24
network. Another option is to leave your workstation attached to a switch, and attach that switch to one of the
inside ports such as GigabitEthernet1/2. However, you must ensure that no other device on the switch's
network is running a DHCP server, because it will conflict with the one running on the inside bridge group,
192.168.1.1.
Version 6.1
Figure 7
ASA 5506W-X (with Wi-Fi), 5506-X (without Wi-Fi) for Version 6.1.
GigabitEthernet 1/1
outside, DHCP from Modem
Status
wLAN
Power
Active
S
L
S
L S
Power
1
2
12VDC, 5A
GigabitEthernet 1/2
inside, 192.168.45.1
(Gateway)
WAN Modem
Internet
Management 1/1
192.168.45.45
S
L S
L S
L S
L S
L S
L
3
4
5
6
7
8
Layer 2 Switch
4. Deploy the Firepower Threat Defense in Your Network
GigabitEthernet 1/9 (internal)
wifi, Access Point (from DHCP)
192.168.10.2
L
GE MGMT
USB
RESET
CONSOLE
Management Computer
DHCP from inside:192.168.45.x
6
Wireless Clients
(from DHCP)
192.168.10.x
