- ページ 3
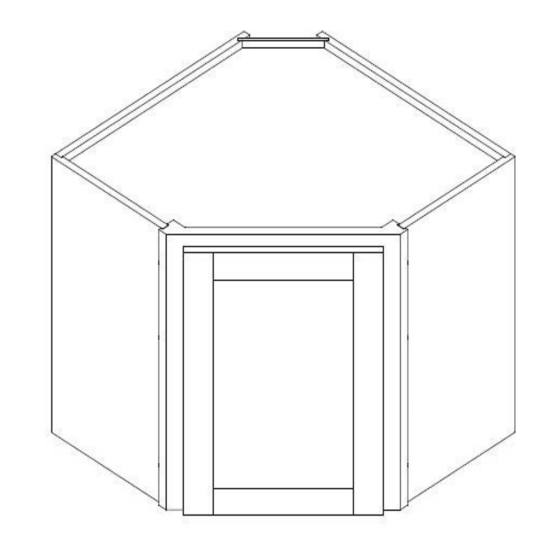
室内装飾品 CABINETS TO GO Findley & Myers WD2412のPDF 組み立て説明書をオンラインで閲覧またはダウンロードできます。CABINETS TO GO Findley & Myers WD2412 4 ページ。 Wall diagonal cabinet

2.
Installing the Front Side Panels (B1 & B2): Insert the right and left front side panels into the grooves of face
frame (A) and align the cam lock connectors (Figure 2). Lock the cam lock with a screwdriver by turning the
screw 180° clockwise (Figure 3)
3.
Installing the Top and Bottom (Figure 4): Gently spread side panels and insert
grooves of side panels (B1 & B2) until it touches the face frame (A). Well align it and lock each cam.
4.
Installing the Rear Side Panels B-2 (Figure 5) Position the rear side panels (C1 & C2) so that the panel
connectors align to the top panel (D), bottom panel (D), and front side panels (B1 & B2). Gently work the panels
into position. Make sure that it fits well and lock the cam lock connectors. (Figure 3)
5.
Installing the Back Panel (Figure 6): Slide the back panel (E) into grooves of rear side panels (C1 & C2) Make
sure the finished side of panel is towards the inside of the cabinet. Once the back panel is assigned and fitted tight,
secure it with 1 " Back Panel Screws (c) into the pre-drilled holes on the back panel (Figure 7).
c
4
Qty
6. Installing the corner braces (Figure 8):Place the corner braces (f) on each top front corner and bottom front
corner of the cabinet and secure them with 1/2" corner brace screws (b). Attach corner braces (g) where needed.
b
f
g
20
6
Q ty
Q
t
y
4
Qty
7. Attach the round bumpers (a) to the inside of the door where it touches the frame.
a
2
Qty
Figure 2
D
A
C1
D
D
E
C2
Figure 6
f
Page 3
top & bottom panels (D) into the
D
Figure 4
C2
Figure 5
c
D
Figure 8
d
Q
t
y
8
Figure 3
C2
Figure 7
e
(d) and (e) are for attaching
the cabinet to the wall.
Q
t
y
8
