- ページ 9
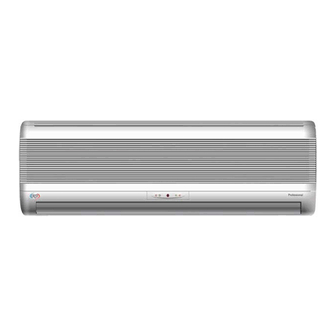
エアコン Argo AW22ALのPDF 取扱説明書をオンラインで閲覧またはダウンロードできます。Argo AW22AL 12 ページ。 Split air conditioner system
Argo AW22AL にも: 取扱説明書 (12 ページ)

SETTING THE TIMER
A) HOW TO SET THE OFF TIME
1. Press the ON/OFF button to start the air
conditioner.
2. Press the TIMER button till the OFF sign
blinks.
3. Press the + or - (HOUR) button until the
desired value is displayed.
4. Press the SET button to activate the
timer.
B) HOW TO SET THE ON TIME
1. Press the ON/OFF button to stop the air conditioner.
2. Press the TIMER button till the ON sign blinks.
3. Press the + or - (HOUR) button until the desired value is
displayed.
4. Press the SET button to activate the timer.
C) HOW TO SET A PROGRAM FOR DAILY ON/OFF OPERATION
(OR VICEVERSA)
1. Press the TIMER button till the ON sign blinks.
2. Press the + or - (HOUR) button until the desired value is
displayed.
3. Press the TIMER button again, the OFF sign blinks.
4. Press the + or - (HOUR) button until the desired value is
displayed.
5. Press the TIMER button, then the SET button to activate the
timer.
D) HOW TO CLEAR THE TIMER
Press the CLEAR button if you want that every timer operation will
be cleared.
NOTE
If the procedure to set the timer is not completed, by pushing the
SET button, within 15 seconds the timer operation will be cancelled
and the last set-up is restored.
ADJUSTING THE AIR FLOW DIRECTION
HORIZONTAL (manual)
The horizontal air flow can be adjusted by moving the vertical
vanes to the left or right, as indicated in the following figures.
VERTICAL (with remote control unit)
The remote control gives you the possibility to control the flap in
two way:
4
1. Push the
2
3
1
2. Push the
Set vertical vanes to the front position during COOLING/DRY
operation if humidity is high.
If the vertical vanes are set to the left-most or right-most
position, condensation will form around the air outlet and
drip off.
Do not move the flap with your hands when the air conditioner
is running.
9
button to start the flap sweep. If you push
again the flap stops immediately.
button to move the flap step by step.
CAUTION
CAUTION
Vertical vane Left
EG
Right
