- ページ 9
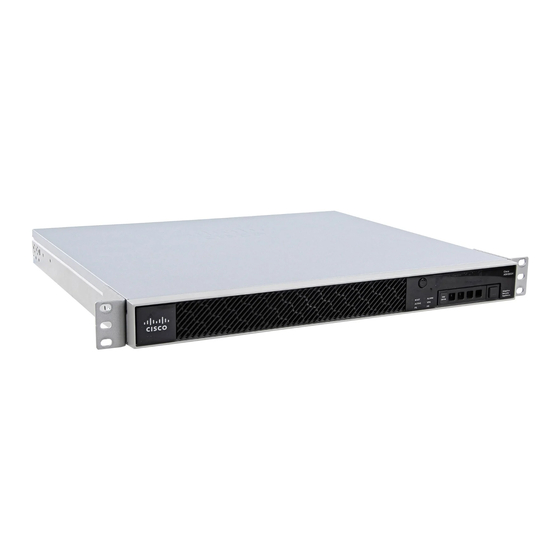
ネットワーク・ハードウェア Cisco ASA 5506H-XのPDF クイック・スタート・マニュアルをオンラインで閲覧またはダウンロードできます。Cisco ASA 5506H-X 14 ページ。 Threat defense reimage guide
Cisco ASA 5506H-X にも: クイック・スタート・マニュアル (10 ページ), 簡単セットアップマニュアル (11 ページ), ソフトウェアマニュアル (37 ページ), インストレーション・マニュアル (46 ページ), シャーシをマウントする (10 ページ)

Cisco Firepower Threat Defense for the ASA 5506-X Series Using Firepower Device Manager Quick Start Guide
6.
Configure the smart licenses for the system.
You must have a smart license account to obtain and apply the licenses that the system requires. Initially, you
can use the 90-day evaluation license and set up smart licensing later.
To register the device now, click the link to log into your Smart Software Manager account, generate a new
token, and copy the token into the edit box.
To use the evaluation license, select Start 90 day evaluation period without registration. To later register the
device and obtain smart licenses, click the name of the device in the menu to get to the Device Dashboard,
then click the link in the Smart Licenses group.
7.
Click Finish.
What to Do Next
Once you complete the device setup wizard, a pop-up presents you with your next options.
If you connected other interfaces to networks, select Configure Interfaces to configure each of the connected
interfaces.
If you want to modify the default access rules, select Configure Policy to configure and manage traffic
policies.
You can select either option, or dismiss the pop-up to return to the Device Dashboard.
7. Configure the Wireless Access Point (ASA 5506W-X)
The ASA 5506W-X includes a Cisco Aironet 702i wireless access point integrated into the device. The wireless
access point is disabled by default. Connect to the access point web interface so that you can enable the wireless
radios and configure the SSID and security settings.
The access point connects internally over the GigabitEthernet1/9 interface. All Wi-Fi clients belong to the
GigabitEthernet1/9 network. Your security policy determines how the Wi-Fi network can access any networks on
other interfaces. The access point does not contain any external interfaces or switch ports.
The following procedure explains how to configure the access point. The procedure assumes that you completed
the device setup wizard. If you instead manually configured the device, you might need to adjust the steps based
on your configuration.
For more information, see the following manuals:
For details about using the wireless LAN controller, see the
documentation.
For details about the wireless access point hardware and software, see the
documentation.
Procedure
1.
Configure and enable the wireless interface, GigabitEthernet1/9.
a.
Click the device name in the menu to get to the Device Dashboard, then click the link in the Interfaces
group to open the list of interfaces.
b.
Click the edit icon
c.
Configure the following options.
● Interface Name—Enter a name for the interface, for example, wifi.
● Status—Click the slider to enable the interface.
(
) for the GigabitEthernet1/9 interface.
7. Configure the Wireless Access Point (ASA 5506W-X)
Cisco Wireless LAN Controller Software
9
Cisco Aironet 700 Series
