ネットワーク・ハードウェア Cisco ASA 5506W-XのPDF マウント&コネクトをオンラインで閲覧またはダウンロードできます。Cisco ASA 5506W-X 12 ページ。 Threat defense reimage guide
Cisco ASA 5506W-X にも: クイック・スタート・マニュアル (10 ページ), 設定マニュアル (13 ページ), クイック・スタート・マニュアル (14 ページ), 簡単セットアップマニュアル (11 ページ), ソフトウェアマニュアル (37 ページ), インストレーション・マニュアル (46 ページ), シャーシをマウントする (10 ページ)
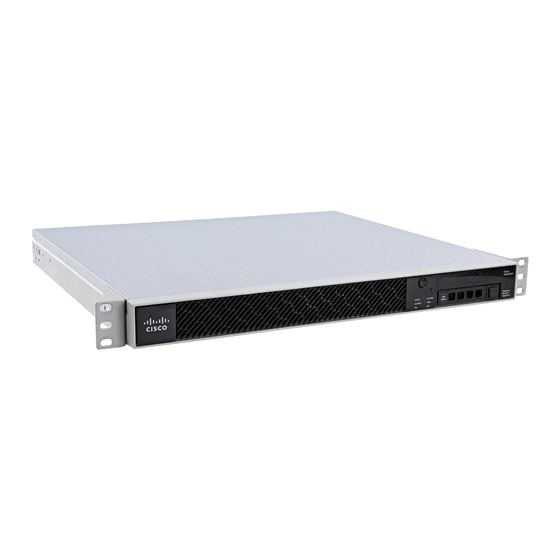
Mount and Connect
Note
Do not remove the rubber feet included with the ASA because they are needed for proper cooling for all
mounting orientations.
This chapter describes how to rack-mount the ASA, and how to connect the cords and cables. It contains the
following sections:
•
•
•
•
•
•
Desktop Mount the ASA
You can mount the ASA on a desktop by placing it on a desk in a horizontal position. Make sure there are no
blockages or obstructions within one inch of the top of the ASA or within .5 inch of the sides and back, so
that nothing interferes with cooling. Do not remove the rubber feet included with the ASA. They are also
needed for proper cooling.
Caution
Do not stack the ASA chassis on top of another ASA chassis. If you stack the units, they will overheat, which
causes the units to power cycle.
Desktop Mount the ASA, on page 1
Wall Mount the ASA, on page 2
Rack Mount the ASA, on page 3
Install the ASA 5506H-X in a DIN Rail, on page 4
Connect Cables, Turn on Power, and Verify Connectivity, on page 6
Connect to a Console Terminal or PC, on page 8
Mount and Connect
1