- ページ 21
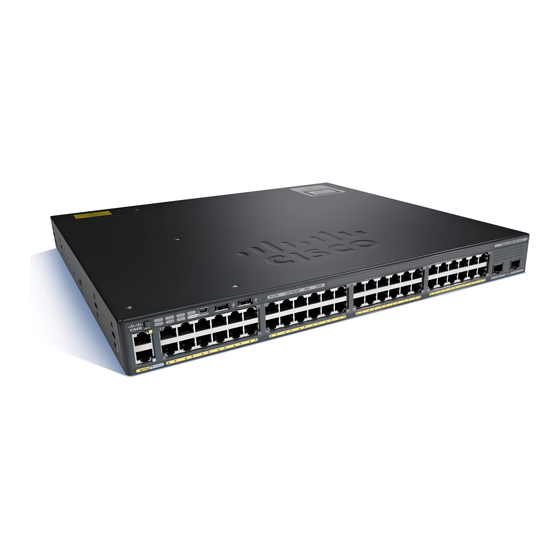
ネットワーク・ハードウェア Cisco Catalyst 2960-XRのPDF ハードウェア・インストール・マニュアルをオンラインで閲覧またはダウンロードできます。Cisco Catalyst 2960-XR 34 ページ。
Cisco Catalyst 2960-XR にも: スタートマニュアル (25 ページ), ハードウェアマニュアル (20 ページ)

Switch Installation
Installing the Switch on a Table or Shelf
Procedure
Step 1
To install the switch on a table or shelf, locate the adhesive strip with the rubber feet in the mounting-kit
envelope.
Step 2
Attach the four rubber feet to the four circular etches on the bottom of the chassis.
Step 3
Place the switch on the table or shelf near an AC power source.
Step 4
When you complete the switch installation, see
switch configuration.
After Switch Installation
• Configure the switch by running Express Setup to enter the initial switch configuration. See the switch
• Use the CLI setup program to enter the initial switch configuration.
• Install the power cord retainer (optional).
• Connect to the front-panel ports.
Related Topics
Connecting FlexStack-Plus modules (Optional), on page 21
Installing the Power Cord Retainer (Optional), on page 25
Installing an SFP or SFP+ Module, on page 28
10/100/1000 PoE and PoE+Port Connections, on page 32
Connecting FlexStack modules
Connecting FlexStack-Plus modules (Optional)
Always use a Cisco-approved FlexStack cable to connect the switches.
This is only supported on the stack-capable switches.
Note
Caution
Use only approved cables, and connect only to other Catalyst 2960-X or 2960-S switches. Equipment
might be damaged if connected to other nonapproved Cisco cables or equipment.
OL-28309-02
getting started guide on Cisco.com.
Installing the Switch on a Table or Shelf
After Switch Installation, on page
Catalyst 2960-X and 2960-XR Switch Hardware Installation Guide
21for information on
21
