- ページ 2
メディア・コンバーター Digitrax DN121PSのPDF マニュアルをオンラインで閲覧またはダウンロードできます。Digitrax DN121PS 3 ページ。 N scale mobile decoder 1.0 amp/1.5 amp peak 2 functions, 0.5 amp dcc plug 'n play with 1' harness, fits many dcc-ready n and ho scale locomotives

D D
C C
igitrax
ommand
Run Your Trains, Not Your Track!
3. The DN121PS has a short, 1" harness with a DCC medium plug on the end
of it. The plug is oriented so the pin for the orange wire is inserted in the
socket marked "pin 1." Seat
the decoder firmly in the sock-
et. (Figure 3) The Green and
Violet wires are not used on
the DN121PS because it only
supports F0 Fwd and F0 Rev
functions.
4. Replace the loco shell. You are
now ready to run your locomo-
tive. The DN121PS is factory
programmed to address 03.
You can easily customize the
address and other features. See
section "Customizing Your
Decoder" that follows.
Installation Notes:
1. Do not exceed the decoder's
500mA total function output
rating.
2. We recommend that the Blue
wire, also called +Common or
Lamp Common, be connected
as shown. If you wish to omit
the Blue wire in your installa-
tion, consult the Digitrax
Decoder Manual for more
information.
3. The head lamp should be
hooked up using the
Blue/+Common wire for opti-
mal Digitrax transponding
operation.
4. See the Digitrax Decoder Manual for full details of wiring 12-16V lamps,
1.5V lamps, and LEDs. Lamps that draw more than 80 mA when running
require a 22 ohm 1/4 watt resistor in series with the directional light func-
tion lead to protect the decoder.
5. Some locomotives employ filter capacitors for RFI suppression in the loco-
motive wiring. These may cause problems with Supersonic decoders and
non-decoder analog operation on DCC. This capacitor should be removed
for safe operation.
©2003 Digitrax, Inc
www.digitrax.com
C C
ontrol
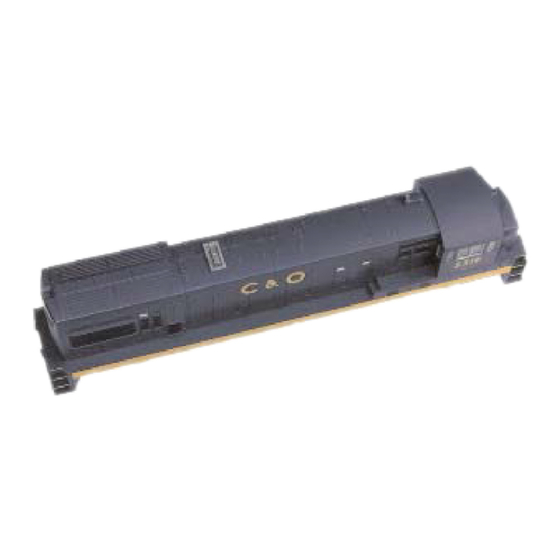
Figure 1. Remove loco shell
dummy plug
Figure 2. Remove dummy plug
Pin 1, Orange lead
Figure 3. Install decoder
Pin 1, Orange lead
Customizing Your Decoder
Your Digitrax decoder is ready to run and will operate using address 03 with no
additional programming. For a more prototypical railroading experience, your
decoder can be customized for your specific locomotive by programming some
of the Configuration Variables, or CVs, available. See the Digitrax Decoder
Manual or the Digitrax web site for more information.
Changing the Decoder Address
The first CV most people change is the decoder address. This allows you to
independently control each loco with a unique address. Digitrax decoders are
shipped with CV01 (AD2), the two digit address, set to 03. Following is a brief
description of how to change the decoder address with a Digitrax DT series
throttle. See your Starter Set Manual for complete programming instructions.
1 Place the loco on the programming track. Go into Program Mode on your
system. On DT400 press PROG. On DT300, DT100 & DT200 press
RUN/STOP & FN/F0.
2. Choose AD2 for 2 digit addressing or AD4 for 4 digit addressing (DT300 &
DT400). (Ad for DT100 & DT200, see your Starter Set manual for 4 digit
instructions).
3. Use your throttle to choose the address you want to set up for the decoder.
4. Complete address programming. On DT400 press ENTER. On DT300,
DT100 & DT200 press SEL.
Note: CV29 must also be programmed to enable 4 digit addressing, this is
done automatically by the DT300 & DT400 but not on earlier throttles.
Warranty & Repair
All warranties on Digitrax products are limited to refund of purchase price,
repair or replacement at Digitrax's sole discretion. Except as expressly stated in
the full warranty statement, there are no warranties, express or implied, includ-
ing but not limited to any warranties of merchantability or fitness for a particu-
lar purpose. For complete warranty details see www.digitrax.com.
Damaged decoders should be returned directly to Digitrax for repair.
2
©2003 Digitrax, Inc
450 Cemetery Street
Norcross, GA USA 30071
www.digitrax.com
Digitrax, Inc. is not responsible for unintentional
errors or omissions in this document.
www.digitrax.com
770-4 4 41-7 7 992
T
770-4 4 41-0 0 759
F
E
3
