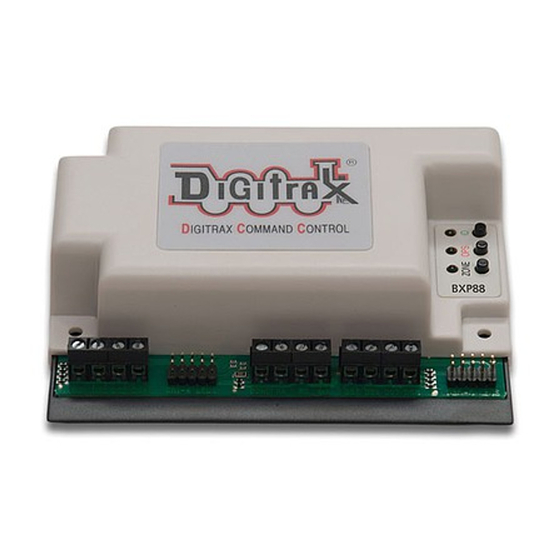
SWITCH mode is normally used for operating turnouts by issuing closed ("c")
or thrown ("t") commands. In the case of your BXP88, each switch address is a
BXP88 option switch when it is in OPSW setup mode.
How to read back and change BXP88 Option Switches (OpSw):
1.
Power up your BXP88 and connect it to LocoNet.
2.
Connect a Digitrax throttle to one of the BXP88's LocoNet connectors.
3.
Press the OPS button for about 2 seconds, then release it. The red OPS and
green ID LEDs will flash alternately to let you know that you are in option
switch setup mode.
4.
Go into SWITCH mode on your throttle. Dial up the switch number that cor-
responds to the OpSw you want to change and issue a closed "c" or thrown
"t" command to set the OpSw to the desired setting. The OpSw is changed as
soon as you issue the SWITCH command.
5.
When BXP88 OpSws are set up as desired, press the OPS button for about 2
seconds and release it, the BXP88 will exit option switch set up mode.
Option
Switch #
OpSw 04
Opsw 05
OpSw 07
OpSw 10
Opsw 11
Opsw 14
Opsw 15
Opsw 33
Opsw 40
Opsw 41
Opsw 42
© 2017 Digitrax, Inc.
c=slower short circuit detection
t=normal short circuit detection
c=transponding enabled
t=transponding disabled
c=enable power manager
t=disable power manager
c=enable power manager reporting to LocoNet
t=disable power manager reporting to LocoNet
c= high detection sensitivity
t= regular detection sensitivity
c=do not send occupied message on LocoNet when faulted
t=send occupied message on LocoNet when faulted
c= Disable Operations Mode Readback
t=enable Operations Mode Readback
c=set factory default
c=disable occupancy reporting for Detection Section 1
t=enable occupancy reporting for Detections Section 1
c=disable occupancy reporting for Detection Section 2
t=enable occupancy reporting for Detections Section 2
Table 1: BXP88 Option Switches
Function
c=disable fast find
t=enable fast find
— 9 —
Default
t
c
t
c
c
t
t
t
t
t
t
www.digitrax.com
