- ページ 3
3Dプリンター B3 innovations PicoのPDF マニュアルをオンラインで閲覧またはダウンロードできます。B3 innovations Pico 12 ページ。
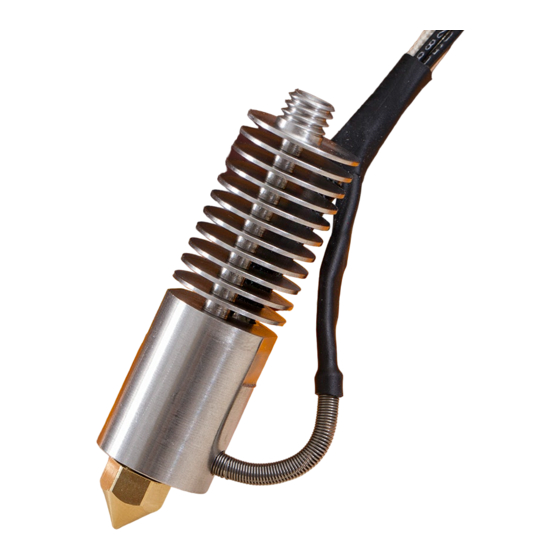
Mounting Pico hot-end
Do not over-tighten as this may yield the hot-end permanently damaging it.
Flat Plate Mount
Secure Pico using a
13mm open-end wrench
on body flats.
Mate the chamfered side
of the flat plate mount
with the threads of Pico.
Hand-tighten the mount clockwise until seated snugly.
Do not twist the wrench, only twist the mount with your
hand.
Groovemount
Lead the threads of
Pico into the face of
the mount with the
countersunk hole.
Bowden Groovemount
First secure the Bowden
fitting to the Bowden
groovemount. Use a
2mm allen key on the
inside of the M5 fitting
or a 4mm allen key
for the ⅛ inch NPT
fitting. Follow steps in
Groovemount to secure onto Pico.
Pico User Guide
1