- ページ 5
ゲートウェイ Cisco ATA 186のPDF 設定マニュアルをオンラインで閲覧またはダウンロードできます。Cisco ATA 186 8 ページ。 Analog telephone adaptor
Cisco ATA 186 にも: 構成 (28 ページ), データシート (7 ページ), 概要 (11 ページ), 概要マニュアル (11 ページ), ユーザーマニュアル (12 ページ), インストールおよび設定マニュアル (13 ページ), インストール方法 (6 ページ), 構成 (6 ページ)

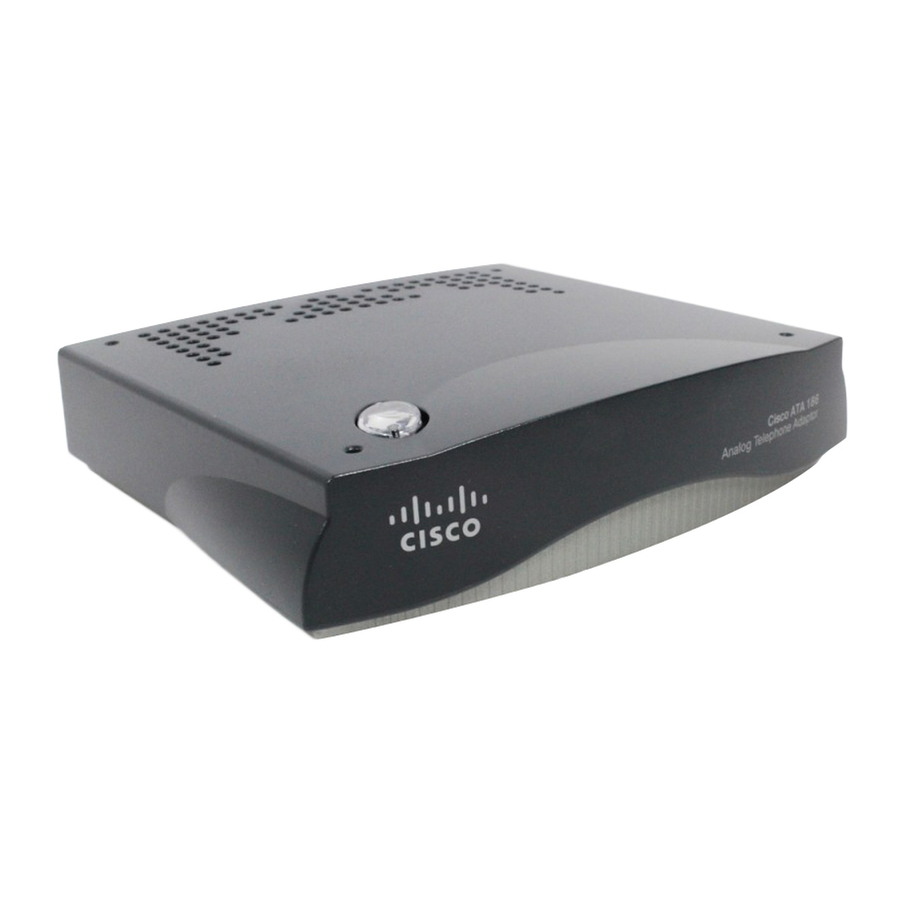
2. Pick up the handset of the phone connected to the ATA, then press the button on top of the ATA.
The system announces, "Configuration Menu. Enter menu number followed by the # key..."
3. Press 20# on the phone's keypad to access the DHCP menu. The system announces, "Enter value."
4. Press 0# on the phone's keypad to disable DHCP. The system announces, "You entered '0.' To
change, press 1; to review, press 2; to save, press 3; to review your saved value, press 4; or press the
pound key (#) to exit."
5. Press 3 on the phone's keypad to save the settings. The system announces, "Value saved.
Configuration Menu..."
6. Press 1# on the phone's keypad to access the IP address menu. The system announces, "Enter
value."
7. Using the phone's keypad, enter the IP address. To enter the dots (.), use the star key (*) key (e.g., to
enter the IP address 000.00.000.00, you would press 000*00*000*00). When you are done entering the
address, press the pound (#) key.
For example, press 000.00.000.00# to enter the IP address "000.00.000.00."
The system announces, "You entered 'xxx.xxx.xx.xxx' (where xxx.xxx.xx.xxx is your IP address). To
change, press 1; to review, press 2; to save, press 3; to review your saved value, press 4; or press the
pound key (#) to exit."
8. Press 3 on the phone's keypad to save the settings. The system announces, "Value saved.
Configuration Menu..."
9. Press 2# on the phone's keypad to access the Default Gateway menu. The system announces, "Enter
value."
10. Using the phone's keypad, enter the default gateway address To enter the dots (.), use the star key
(*) key. When you are done entering the address, press the pound (#) key. The system announces,
"You entered 'xxx.xxx.xx.xxx' (where xxx.xxx.xx.xxx is your default gateway). To change, press 1; to
review, press 2; to save, press 3; to review your saved value, press 4; or press the pound key (#) to
exit."
11. Press 3 on the phone's keypad to save the settings. The system announces, "Value saved.
Configuration Menu..."
12. Press 10# on the phone's keypad to access the Subnet Mask menu. The system announces, "Enter
value."
13. Using the phone's keypad, enter the subnet mask address. To enter the dots (.), use the star key (*)
key. When you are done entering the address, press the pound (#) key. The system announces,
"You entered 'xxx.xxx.xx.xxx' (where xxx.xxx.xx.xxx is your subnet mask). To change, press 1; to
review, press 2; to save, press 3; to review your saved value, press 4; or press the pound key (#) to
exit."
14. Press 3 on the phone's keypad to save the settings. The system announces, "Value saved.
Configuration Menu..."
15. Press 916# on the phone's keypad to access the primary DNS server menu. The system announces,
"Enter value."
16. Using the phone's keypad, enter the primary DNS server address. To enter the dots (.), use the star
key (*) key. When you are done entering the address, press the pound (#) key. The system
CafeFone Configuration Guide for the Cisco ATA186
Page 3
