- ページ 13
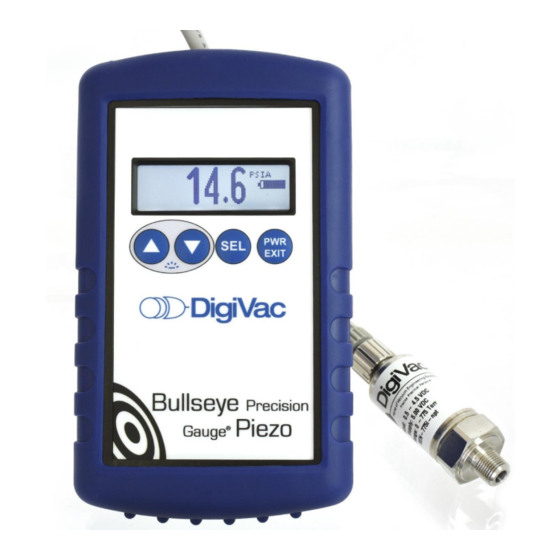
計測機器 DigiVac Bullseye PiezoのPDF ユーザーマニュアルをオンラインで閲覧またはダウンロードできます。DigiVac Bullseye Piezo 18 ページ。

Vacuum Calibration
The calibration screen contains the numbers necessary to calibrate the gauge to a known good
standard. The "Vacuum" number on in the top right corner is millitorr x 10. For example, in the above
picture 1.3 Torr is displayed. The next number is counts, which is an internal number that literally
represents what is coming into the microcontroller's A2D converter and is a useful diagnostic. The
numbers on the bottom are:
• 760T – the Atmospheric pressure calibration number
• 3T – the vacuum or low-pressure calibration number
These numbers on the bottom represent the digital calibration points to be adjusted in order to
achieve optimal calibration. There are 2 ways to calibrate: Manually and Automatically. Press the
circular arrow Select button
when highlighted.
Automatic Calibration Procedure:
1. Press select until you get to calibration mode
2. Press select until you get to automatic
3. Set the manifold to 5.0 Torr
4. Press up and down simultaneously
5. Set the manifold 760.0 Torr
6. Press the up and down arrows simultaneously
7. Press up and down again simultaneously to store (This is the step where the calibration
numbers get stored)
At pressures above 775 Torr, the unit may display the text "Overrange"; this is typical as this is the
sensor's highest rated pressure range. For optimal accuracy, readings above 775 Torr, if displayed at
all, should not be used for precision readings.
to cycle through the calibration presets. Each function will capitalize
1 0 2 0 C a m p u s D r i v e W e s t , M o r g a n v i l l e , N J 0 7 7 5 1
s a l e s @ d i g i v a c . c o m w w w . d i g i v a c . c o m
7 3 2 - 7 6 5 - 0 9 0 0
Copyright 2020, DigiVac, Inc., All rights reserved.
13
