- ページ 2
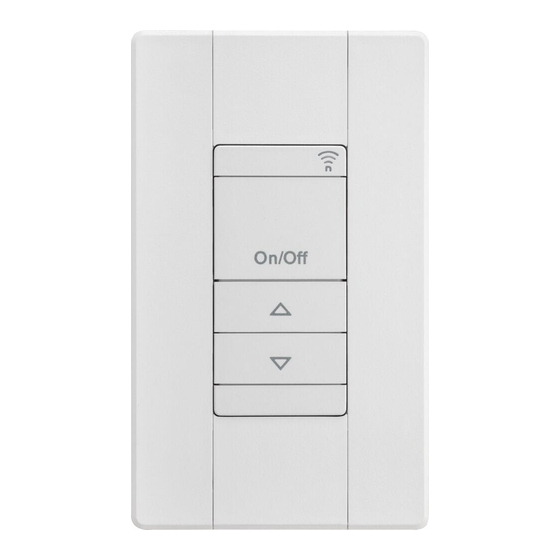
スイッチ Acuity Brands nLight rPOD MicroのPDF 取扱説明書をオンラインで閲覧またはダウンロードできます。Acuity Brands nLight rPOD Micro 6 ページ。 Wireless wall switch

Custom Orientation
When an rPOD Micro WallPod is mounted to a wall, it is expected that the device will be mounted plum. However, if the device is placed in a non-plum manner (leaning
forward, leaning backward, or not generally upright), a custom orientation can be set on the device by following the below steps.
1.
Power cycle the device (remove battery and re-insert battery). A slow flash should be seen after the battery is re-inserted.
2.
For three minutes after the battery is re-inserted, the top-left-most button and bottom-right-most button can be pressed simultaneously for 10 seconds to
establish a custom orientation for the device. The LED will turn off after a successful 10-second press-and-hold.
3.
The device must remain motionless in the custom orientation for at least 5 seconds. A slow blink on and off will be seen until completed.
Battery Life Reporting
The rPODU reports battery life via the ranges listed below. Battery life is captured by a device in the group with modern firmware that is acting as a group monitor
(a device that manages messages within the group).
Good: 51% or better
•
Fair: 26% to 50%
•
Poor: 1% to 25%
•
Replace: <1%
•
Blink Warnings
The below is a list of the rPOD Micro blink warnings.
Rapid Flash + 1 Blink: the device is not plum and must be placed in an upright position.
•
Rapid Flash + 2 Blinks: time within the first minute of the battery being replaced where the device is expecting to be returned to its mounting location.
•
Long Flash On/Off: identifies that a device has been power cycled.
•
Slow Flash: a device is registering a custom orientation. This flash will last between 5 to 10 seconds.
•
Installation - Remote
1
Remove the wall-side liner.
Acuity Brands | One Lithonia Way Conyers, GA 30012 Phone: 800.535.2465 www.acuitycontrols.com © 2023 Acuity Brands Lighting, Inc. All rights reserved. Rev. 03/03/2023
IS-RPODU-002
rPOD Micro
WIRELESS WALL SWITCH
FAMILY INSTRUCTIONS
2
Place on the wall and press the top and bottom of the
switch firmly.
2 of 6
