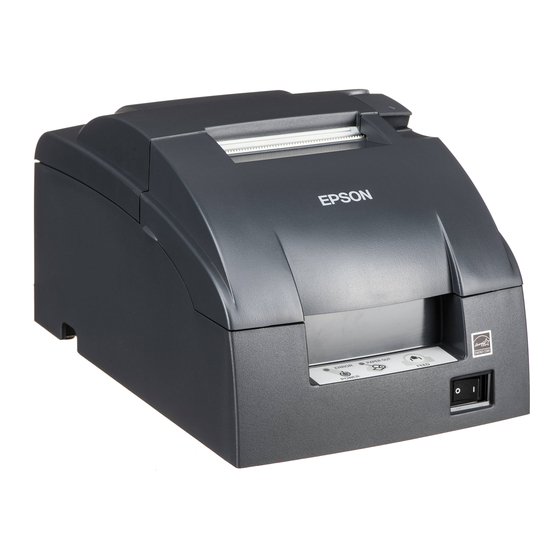
- ページ 9
ラベルメーカー Epson TM-H6000のPDF マニュアルをオンラインで閲覧またはダウンロードできます。Epson TM-H6000 13 ページ。 How to connect printer with a wireless adapter
Epson TM-H6000 にも: パンフレット (1 ページ), ユーザーマニュアル (15 ページ), 仕様 (2 ページ), ユーザーマニュアル (15 ページ), 取扱説明書 (12 ページ)

How to connect an Epson POS printer with Ethernet Interface
4. Set DIP switches as necessary; then attach the access cover.
5. Connect the power cable to the printer and apply power. Attach network cable.
6. Run a configuration report. This shows that the printer, module, and firmware are all installed and operating correctly
and shows how the communication parameters are set.
Running a Configuration Report
To Run the Config Report
1. Power on the printer,
2. Open the paper cover,
3. press the FEED button,
4. Close the paper cover.
The configuration report will now print. It should include information such as the MAC address, the IP address and the
gateway address. After printing, don't forget to return DIP switch 1 to the off position.
For the EPSON TM-U200 printer:
Set DIP switch 1 on the Ethernet Module to ON and power up the unit. After report has printed, power off unit and return
DIP switch to the OFF position.
Configuring the Interface
Each Epson Ethernet Interface module has a 'Base' MAC Address programmed into the it. A unique MAC Address and a
Serial Number are programmed into the Flash ROM at the factory, and cannot be changed. Labels with both the MAC
address and serial number are affixed to the module. These numbers are important when configuring the adapter- It is
advisable to make a note of these values in a secure place.
The Internet or IP address can be set using the web interface or Epson EEI utility. It can be dynamically reassigned via
DHCP, BOOTP, or ARP/Ping.
High Level Configuration
Option 1 (Ethernet II only): Using a web browser, type the default IP address (found on a label on the interface card) into
the address field of your web browser. The configuration screen should appear. The default password for the interface is
Epson. We highly recommend this be changed. Once the web interface is running, all application, network, printer and
password settings can be modified.
Option 2 (Ethernet II or Ethernet III): Use the Epson Ethernet Interface Configuration Program for this series of adapter,
EEIUtil.exe, The program will discover all Epson Ethernet printers on your network and allow you to reconfigure them.
Note: the TMNetWinConfig is not compatible with this model of adapter.
Important
interface module by switched to off once the address has been set.
Configuring the Computer
Installing the Device Drivers for Windows
If provided with a driver disk from Beagle Hardware or Epson, you can install the Epson printer drivers from the CD.
Alternatively, you can download the files from Epson.
To obtain the latest Device Drivers from Epson:
http://www.beaglehardware.com/howtoethernet.html[3/4/2011 12:27:20 PM]
(Type II or Type III)
: If you are assigning a permanent IP address to the Epson printer, it is advised that dip switch 8 on the
(all types)
1. Download and Install Epson's drivers available from
WILL be REQUIRED
2. You
3. If you do not have a log in, you will be required to register for this service (this is free and takes
less than 10 minutes). This is a process controlled by Epson not Beagle Hardware.
TECHNICAL RESOURCES
4. Click on
5. Select the printer model under the menu
(Type II or Type III)
www.epsonexpert.com
to log in to access these drivers.
TM-T88III
$139
TM-T88IV
$199
TM-T88V
$259
New
TM-U200
$99
