- ページ 2
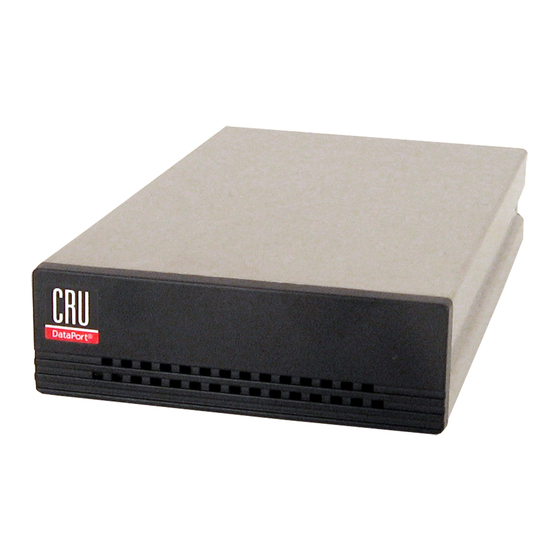
エンクロージャー CRU DataPort DP25 RAID Dock 3JRのPDF クイック・スタート・マニュアルをオンラインで閲覧またはダウンロードできます。CRU DataPort DP25 RAID Dock 3JR 2 ページ。

2
CRU DataPort DP25 RAID Dock 3JR and DataPort DP25 RAID Carrier Quick Start Guide
1 USAGE WARNINGS
not
•
Do
use this product to transport data from previously formatted RAID drive pairs
used in other DP25 models or data loss may result! All drives
matted before first use.
•
The single-drive DataPort 25 USB 3.0 Carrier (8531-4009-9500) does not support SSD
drives when used inside the DataPort DP25 RAID Dock 3JR frame.
•
The DataPort 25 Hand-Held RAID (with USB 2.0 and SATA) was the previous generation
of this product. If the previous DataPort 25 Hand-Held RAID carrier (8511-5170-9500)
is used with the newer DataPort DP25 RAID Dock 3JR frame (8570-6370-9500), or the
newer DataPort DP25 RAID Carrier (8511-6309-9500) is used with the older DataPort 25
Hand-Held RAID frame (8512-3202-9500), the DIP Switch settings on the back of the
carrier will be overridden by the DIP Switch settings on the back of the frame/dock.
must take into account this behavior or data loss may result!
2 INSTALLATION STEPS
2.1 CONFIGURING RAID SETTINGS
The DataPort DP25 RAID Dock 3JR frame and DataPort DP25 RAID Carrier operate in four dif-
ferent configurations, which are determined by DIP switch "SW1" on the rear of the frame or
carrier board. Set the DIP switch to the desired configuration. Both the carrier and the frame
are set to "No RAID" by default.
STOP!
When configuring the DIP switches on the frame, you must set the DIP switches
on the carrier to "No RAID", and when configuring DIP switches on the carrier, you
must set the DIP switches on the frame to "No RAID". If you do not do so, your
RAID settings may be changed and loss of data could result!
"SW1" DIP Switch Settings
POSITION 1
No RAID*
Span
RAID 1
RAID 0
*Requires that a port-multiplier-aware host SATA port be used during frame installation
NOTE
Each time you change the DIP switch settings, you must cycle power on the unit in
order for the settings to take effect.
Protecting Your Digital Assets
TM
must
be initially unfor-
POSITION 2
POSITION 3
Off
Off
On
On
Off
On
Off
On
On
On
On
On
CRU DataPort DP25 RAID Dock 3JR and DataPort DP25 RAID Carrier Quick Start Guide
2.2 HARD DRIVE INSTALLATION
a. Press the Eject button on the front of the DataPort DP25 RAID Dock 3JR frame to release
the button, and again to eject the carrier (may be sold separately). If the lock is engaged
and the eject button will not release the carrier, insert the provided DataPort Key into the
dock and turn it 90 degrees counterclockwise to release the lock so that you can eject the
carrier.
b. Slide the cover of the carrier back and off.
c. Remove the screw kit from the carrier.
d. Insert a 2.5" SATA hard drive, with the top label facing up, into the bottom unified power
and data connector inside the carrier.
e. Secure the hard drive to the carrier using mounting screws from the provided screw kit.
You
f. Insert the second 2.5" SATA hard drive, again with the top label facing up, into the top
unified power and data connector.
g. Secure the hard drive to the carrier using the provided mounting screws.
h. Replace the cover and secure it by inserting two screws from the provided screw kit into
the rear of the carrier.
2.3 OPERATING YOUR DATAPORT DP25 RAID DOCK 3JR UNIT
a. Connect the DataPort DP25 RAID Dock 3JR AC adapter into a power source and the other
end to the rear of the dock.
b. Attach the provided USB 3 cable to the rear of the dock and the other end to an open USB
3 port on your computer.
c. Slide the carrier into the dock.
d. Insert the provided DataPort key into the keylock on the front of the dock and turn it 90
degrees clockwise to secure the carrier into the dock and power it on.
When any RAID set or hard drives are first used with the DataPort DP25 RAID Dock 3JR, they
will show up as blank, unallocated volumes and you'll need to format each one before you
can use them.
3
CRU Mark
10.25.12
PMS 711
2 cyan
85 magenta
76 yellow
