- ページ 15
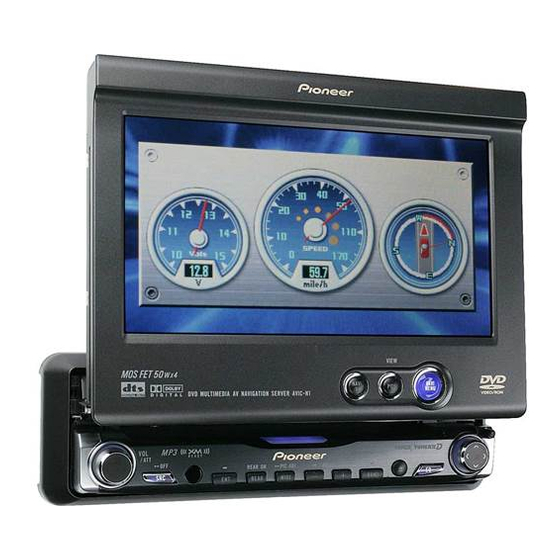
カーレシーバー Pioneer AVIC-N1のPDF ハードウェアマニュアルをオンラインで閲覧またはダウンロードできます。Pioneer AVIC-N1 28 ページ。 Technical menu
Pioneer AVIC-N1 にも: オーナーズマニュアル (34 ページ), ユーザーマニュアル (24 ページ), マニュアル (10 ページ)

Turning the unit on and select-
ing a source
• If the program is not installed, see "Opera-
tion Manual" and install the program.
1
Turn the ignition switch (ACC) ON.
The product's power supply comes on.
2
Press SRC button to select a source.
Press SRC button repeatedly to switch
between the following sources:
XM (XM tuner) — RADIO (tuner) — TV (tele-
vision) — AV (video input) — DISC [CD,
MP3, CD/MP3](built-in DVD drive) — S-DVD
(DVD player/multi-DVD player) — M-CD
(multi-CD player) — EXT-1 (external unit 1) —
EXT-2 (external unit 2) — AUX (Auxiliary
equipment)
❒ Press and hold to turn the source off.
❒ In the following cases, the sound source will
not change to them:
— When a unit corresponding to each source
is not connected to this unit.
— When no disc (DVD-video, CD) is set in this
unit.
— When no disc is set in the DVD-player (S-
DVD).
— When no magazine is set in the multi-CD
player.
— When no magazine is set in the multi-DVD
player.
— When the AUX (auxiliary input) is set to off
(refer to Operation Manual).
— When the AV (video input) is not set to
VIDEO (refer to Operation Manual).
❒ External unit refers to a Pioneer product (such
as one available in the future) that, although
incompatible as a source, enables control of
basic functions by this unit. Two external units
can be controlled by this unit. When two exter-
nal units are connected, the allocation of
them to external unit 1 or external unit 2 is
automatically set by this unit.
❒ When this unit's blue lead is connected to the
vehicle's auto-antenna relay control terminal,
the vehicle's antenna extends when ACC
(ignition) is turned on and attach the front
panel. To retract the antenna, detach the front
panel.
The vehicle's antenna extends regardless of
turning this unit's source on or off.
Loading a disc
• Insert a disc into the disc loading slot.
Format reading will start.
For DVD-video, CD
❒ DISC AUTO is off in the default setting.
➲ DISC AUTO ➞ Operation Manual
❒ When a disc is already loaded in this unit,
select the source by pressing SRC but-
ton.
❒ To eject a disc, press EJECT button.
For the map disc
❒ Inserting the disc starts DVD navigation
mode.
❒ Removing the disc sets Memory navi
mode.
❒ You can use NAVI/AV button to switch
between navigation map displays and audio
operation displays.
❒ The DVD drive plays one, standard, 12-cm or
8-cm (single) disc at a time. Do not use an
adapter when playing 8-cm discs.
❒ Do not insert anything other than a disc into
the disc loading slot.
➲ Playable discs ➞ Page 7
❒ If you cannot insert a disc completely or if
after you insert a disc the disc is not recog-
nized, check that the label side of the disc is
up. Press EJECT button to eject the disc, and
check the disc for damage before inserting
the disc again.
13
