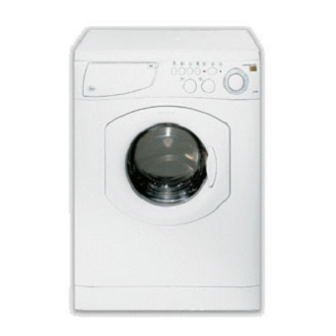
M
ARGHERITA
Your safety and that of
your family
1. Margherita should not be
installed in an outdoor
environment,
2. It must only be used by
adults
3.
appliance is very heavy
4.
make sure the
drum is empty.
How to change the power supply cable
(For this operation we suggest you contact a qualified engineer)
The Margherita power
supply cable is special and
can
be
purchased
exclusively
from
authorised Technical
Service Centres.
To replace the cable:
1. Make sure that Mar-
gherita is switched off
and unplugged.
I
Fig. 3
13
Margherita - Instructions for installation and use
All manuals and user guides at all-guides.com
Important for the safe use of your Margherita
5. Never touch the washing
machine when barefoot
with wet or damp
hands or feet.
6. Never use extensions or
multiple plugs
I only want an
authorised specialised
technician with original
Ariston spare parts!
the
2. Remove the covering lid
by unscrewing the two
screws I, and then pull it
towards you [fig. 3].
3. Disconnect the wires
from the radio interference
suppressor F [fig. 4] noting
as to their position (Blue=N
wire;
Brown=L
leaving the earth wire until
last
.
N
F
Margherita has been built in compliance with
the strictest international safety regulations.
To protect you and all your family.
7. Never open the detergent
dispenser while the
appliance is functioning;
do not use hand wash
detergent
N.B.: letters L, N and the
symbol
are indicated on
the
radio
interference
suppressor.
4. Remove the upper part
of the cable slightly from
the back panel of the
appliance, pull the power
wire)
supply cable upwards and
take it out [fig. 5].
L
Fig. 4
8. Never pull on the supply
cable
9.
do not touch
the drain water
appliance door, during
wash cycles, tends to
become hot; ensure that
children do no touch it.
Never force the washing
machine door
10. In case of malfunctio-
ning, first close the
water tap and unplug the
appliance from the wall
socket;
To connect the new power
supply cable, reverse the
procedure.
To put the covering lid back
on, rest it on the washing
machine [fig. 6] and let it
slide forwards until the
hooks situated on the front
slide into the special slots
formed into the control
panel and tighten the
screws back on.
Fig. 5
The
Fig. 6
