- ページ 5
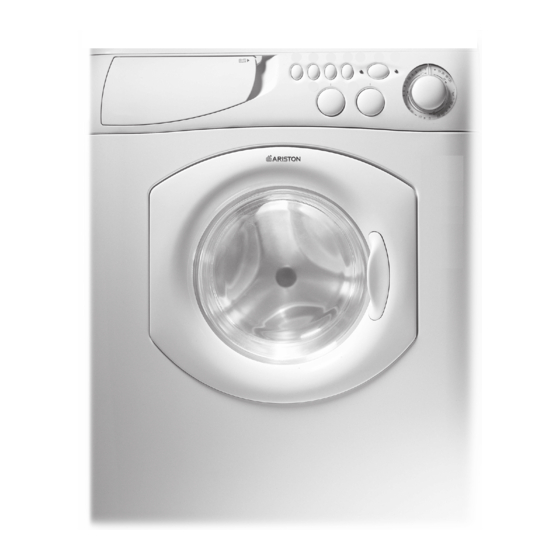
洗濯機 Ariston AWD 129のPDF 修理マニュアルをオンラインで閲覧またはダウンロードできます。Ariston AWD 129 20 ページ。 Washer / washer-dryer combo
Ariston AWD 129 にも: 取付・使用説明書 (21 ページ)

- 1. Table of Contents
- 2. Model & Serial Number Locations
- 3. Top Panel
- 4. Control Panel
- 5. Control Panel Components
- 6. Toe Kick & Drain Motor
- 7. Drum Boot
- 8. Door Switch
- 9. Water Valves
- 10. Heater Assembly (AWD 120 / 121 / 129 Only)
- 11. Pressure Switch
- 12. Rear Access Panel
- 13. Control Board
- 14. Main Motor
- 15. Fault Codes
- 16. Schematics
2. TOP PANEL
• To remove the Top Panel, first remove the two (2) Phillips screws located at the rear corners of the panel (Fig. 2-1). With the two
screws removed lift the rear of the panel up approximately three (3) inches and then slide the panel back, moving it away from the
Control Panel (Fig. 2-2)
• With the Top Panel removed you can see the four (4) alignment slots on top of the Control Panel (Fig. 2-3) that correspond to the
four (4) alignment tabs on the bottom of the Top Panel (Fig. 2-4). When re-installing the panel make sure to align the tabs and
slots and then slide the panel back into place.
REPAIR MANUAL
Fig. 2-1
AW 120 / AW 122 / AW 125
AWD 120 / AWD 121 / AWD 129
1
2
Fig. 2-3
Page: 2
Fig. 2-2
Fig. 2-4
