- ページ 3

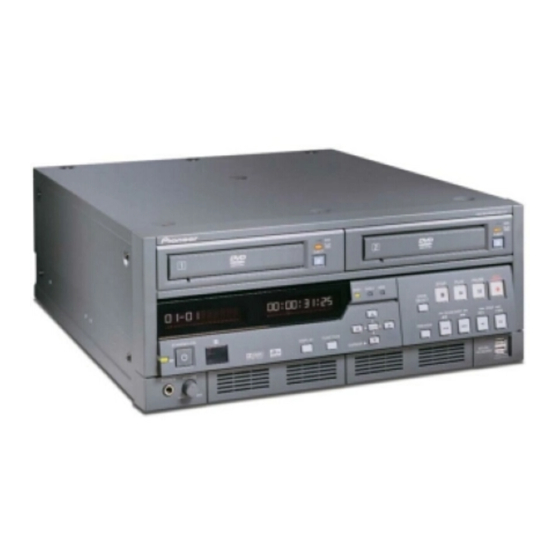
DVDプレーヤー Pioneer PRV-LX1のPDF メンテナンスをオンラインで閲覧またはダウンロードできます。Pioneer PRV-LX1 5 ページ。 Dvd-video recorder
Pioneer PRV-LX1 にも: 製品情報 (5 ページ), クイックスタート (5 ページ), 補足マニュアル (1 ページ), コマンド・プロトコル・マニュアル (20 ページ), プロトコル・マニュアル (14 ページ), 決定リストの編集 (6 ページ), ソフトウェアマニュアル (24 ページ), 製品情報 (6 ページ), 取扱説明書 (38 ページ), 更新マニュアル (2 ページ), システム・アップデート (10 ページ), システム・アップデート (10 ページ), トレーニング・マニュアル (38 ページ), マニュアル (38 ページ)

Pioneer PRV-LX1 メンテナンス
To determine when to replace versus clean filters, refer to the following chart:
Clean The Filters
grime on filter cover can be wiped away
visible dirt on the filter is removable with
a small vacuuming device
(available commercially)
The replacement filter (P/N DEC2530) is available from the Pioneer Electronic Service organization.
The replacement part DEC2530 consists of a single filter. Replace both front filters at the same time
to keep the PRV-LX1 at top performance. Follow the directions below to replace a filter.
1. Confirm that the PRV-LX1 is in Standby (indicator light is orange).
If the PRV-LX1 is not in Standby, stop any current operation then press and hold the
STANDBY/ON button for at least two seconds to place the recorder in Standby.
2. Turn the main power off.
Set the rear power switch to OFF.
3.
Disconnect the power plug from the outlet.
4. Slide a front filter cover down while pulling the bottom edge slightly away to remove it.
Do not discard this cover as it is reused.
Pioneer Electronics (USA) Inc.
Home & Business Group of America
http://parts.pioneerelectronics.com
or call (800) 228-7221 for the Parts Department
(800) 872-4159
Replace the Filters (Part # DEC2530)
cover or filter feels greasy to the touch
any dirt or debris remains after wiping the
cover or vacuuming the filter
TIB #190112
Released: Aug-2007
Page 3 of 5