- ページ 5
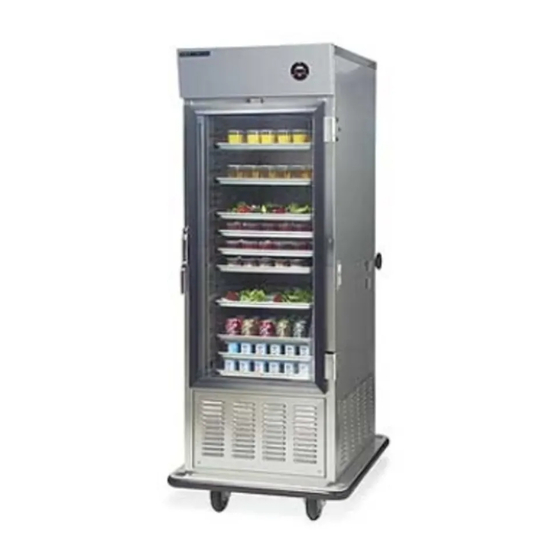
冷蔵庫 Dinex IRAC15のPDF 取扱説明書をオンラインで閲覧またはダウンロードできます。Dinex IRAC15 12 ページ。 Air curtain refrigerator

RANCO THERMOSTAT TEST PROCEDURE
A Voltmeter and a Pyrometer (temperature meter) will be
required for this procedure.
1. Unplug cart before attempting this procedure.
2. Remove the four control panel mounting screws.
3. Gently locate the control panel so as not to short any
wire connections and so you can access the control
housing.
4. Verify the Ranco set points are correct, the "High Point"
should be 38 F and the "Differential" should be 20.
5. Place the pyrometer (temperature probe) inside the cart,
near the center, not touching any metal.
6. Close the door.
7. Plug the cart into the proper power source.
8. Check the voltage on the output side of the Ranco and
monitor the temperature reading on the pyrometer.
• If the Ranco is operating correctly, there should be
voltage at the output when the temperature
(Pyrometer) is above 40 F. When the temperature is
below 38 F there should be no voltage at the output of
the Ranco.
9. If not operating at the set points, adjust the Ranco and
remonitor.
10. If still not correct, replace the Ranco.
FANS TEST PROCEDURE
An Ohm Meter will be required for this test procedure.
1. Unplug cart before attempting this procedure.
2. Remove the two rack/air ducts.
3. Remove the inside top panel.
4. Plug the cart into a proper power source.
5. Check the four fans operation.
• Check that motor bracket hardware is tight and fans
turn without interference from wiring, or misalignment.
• The two center fans should blow constantly.
• The two outer fans should bow only when the door
switch (located at the top of the door frame) is not
depressed.
• The two outer fans should not blow when the door
switch is depressed.
6. Unplug the unit from the electrical power source and
check the wiring from the door switch to the fans.
7. Check the door switch terminations, the switch should
be terminated on the two terminals which are pointing
in the same direction (the "Common" and the "Normally
Closed" terminals).
8. Using an ohm meter, check the door switch, measuring
across the two terminals pointing in the same direction
(the "Common" and the "Normally Closed") the switch
should be open when the switch is depressed and
closed when the switch is not depressed.
CONDENSATE EVAPORATOR TEST PROCEDURE
An Ohm Meter will be required for this test procedure.
1. Unplug cart before attempting this procedure.
2. Remove the bottom left access panel.
3. Verify the wiring is correct. The evaporator should not
cycle with the condensing unit.
4. Pour some water into the condensate evaporator pan,
enough to just cover the bottom of the pan.
5. Plug the cart into a proper power source.
6. The water should slowly begin to steam off after
approximately ten minutes. If it does, the evaporator is
operating correctly.
7. Check the resistance across the two evaporator leads, it
should be approximately 85 OHMS. If not, replace evap-
orator.
8. Verify the evaporator has 120 volts at all times.
9. Check the door switch, measuring across the two termi-
nals pointing in the same direction (the "Common" and
the "Normally Closed") the switch should be open when
the switch is depressed and closed when the switch is
not depressed.
CONDENSATE EVAPORATOR TEST PROCEDURE
An Ohm Meter will be required for this test procedure.
1. Unplug cart before attempting this procedure.
2. Remove the bottom left access panel.
3. Verify the wiring is correct. The evaporator should not
cycle with the condensing unit.
4. Pour some water into the condensate evaporator pan,
enough to just cover the bottom of the pan.
5. Plug the cart into a proper power source.
6. The water should slowly begin to steam off after
approximately ten minutes. If it does, the evaporator is
operating correctly.
7. Check the resistance across the two evaporator leads, it
should be approximately 85 OHMS. If not, replace evap-
orator.
8. Verify the evaporator has 120 volts at all times.
CONDENSING UNIT TEST PROCEDURE
1. Unplug the cart before attempting this procedure.
2. Remove the bottom left access panel.
Page 5
