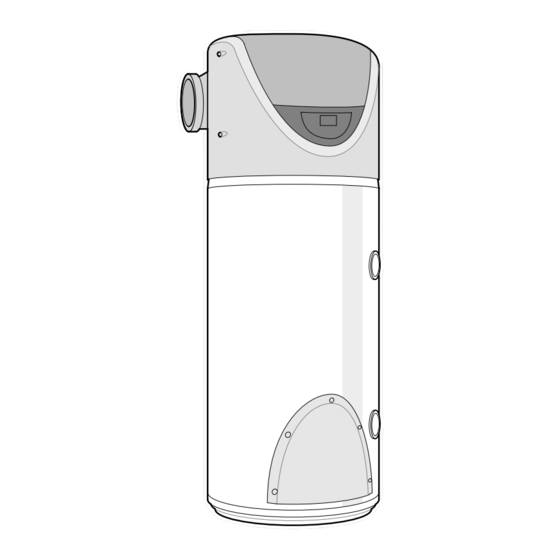
- ページ 36
ウォーターヒーター Ariston NUOS FSi 250のPDF 取り付けと点検の手順をオンラインで閲覧またはダウンロードできます。Ariston NUOS FSi 250 44 ページ。 External air source heat pump water heater
7.
COMMISSIONING
SYSTEM
IMPORTANT
It is the responsibility of the
installer to ensure that the
system
is
commissioned.
7.1 C
OMMISSIONING
36
The Commissioning Procedure should be carried out in 7 stages.
Stage 1 Electrical Check
Stage 2 Pre-fill Check
properly
Stage 3 Filling System
Stage 4 Drain System
P
STAGE 1 - ELECTRICAL CHECK
ROCEDURE
1.1 CHECK THAT ALL WIRING INCLUDING EARTH WIRING, HAS
BEEN INSTALLED CORRECTLY, CONFORMS TO CURRENT
REGULATIONS AND A SATISFACTORY ELECTRICAL TEST AND
INSPECTION CERTIFICATE HAS BEEN COMPLETED.
1.2 CHECK ALL ELECTRICAL COVERS ARE CORRECTLY FITTED.
1.3 Check Tundish is positioned so that any spillage or spray from the
Tundish would not contact any electrical components.
1.4 Check ALL wiring connections have been made.
1.5 Remove top cover and check:-
i
ii
iii
Refit cover.
1.6 Check the required earth continuity conductors have been fitted.
STAGE 2 - PRE-FILL CHECK
2.1 Check expansion vessel is fitted and that no valves are fitted between
the expansion vessel and the combination valve.
2.2 Check that no valves are fitted between NUOS and the combination
valve.
2.3 Check the PRV, tundish and discharge pipes are correctly installed
to conform to the Building Regulations G3.
2.4 Check all pipe connections are tight and no joints have been left
unsoldered.
2.5 Check ALL drain cocks are closed.
STAGE 3 - FILLING SYSTEM
3.1 Close all isolating valves.
3.2 Close all taps
3.3 Open the incoming water mains stopcock.
3.4 Turn on mains water, allow system to fill up to first isolating valve.
Turn on hot tap. Open isolating valves and allow the NUOS to fill and
let water pass through the system to the open hot tap, this will expel
most of the air from the system and fill the NUOS vessel.
3.5 Systematically open all hot and cold taps to purge air.
3.6 Check system for leaks.
3.7 Check no water is discharging from any TPRV or PRV.
3.8 Expansion vessel - with the water supply turned off and taps open,
check expansion vessel pressure and top up as necessary.
Electrical terminal cover is fitted.
Sensors are in the correct place.
No tools or fittings are left in the compartment.
Stage 5 Cleaning The System
Stage 6 Setting and Testing Controls
Stage 7 Handing Over