- ページ 8
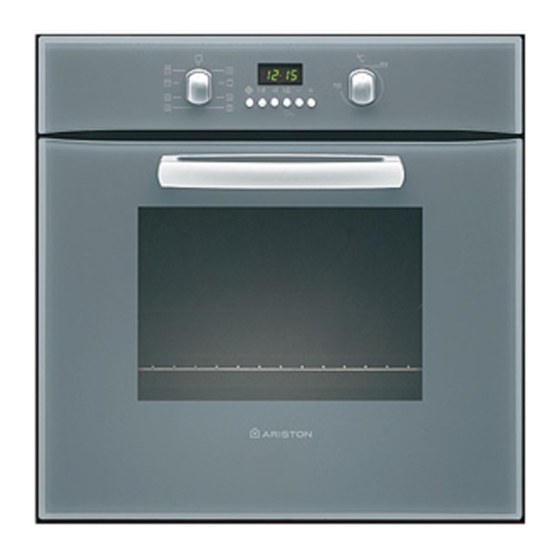
オーブン Ariston FB 86 PのPDF 取付・使用説明書をオンラインで閲覧またはダウンロードできます。Ariston FB 86 P 15 ページ。 Multifunction oven with self-cleaning by fast clean
Ariston FB 86 P にも: 取付・使用説明書 (50 ページ)
Display for all functions : clock, timer,
cooking duration and
end-of-cooking/fast-cleaning time
Timer indicator light
Button to start cooking
Button to set the
cooking duration
Button to set the
end-of-cooking time
Button to set the timer
Setting the time
You can only set the time if the mode selector is set to "0".
After the appliance has been connected to the power
supply (or following a power failure), a flashing "0.00" is
displayed. Press keys "+" and/or "-" to set the time.
The time set is memorised, but you still have another 3
seconds to modify it, as all the other buttons remain
disabled for that time.
Setting the timer
The timer only works when the oven is switched off (mode
selector set to 0).
Press key
briefly and set the time using keys "+"
and/or "-". As soon as you release the keys, the selected
duration is memorised and can still be modified for 3
seconds, indicator light
begins.
When the end of the time set is reached, an acoustic signal
sounds for 1 minute; to turn it off, just press any of the
keys; indicator light
comes off.
The timer operation is independent from that of the
oven.
Acoustic signal volume
You can adjust the volume of the acoustic signal by
pressing button "-" (when the signal sounds) until you attain
the required volume.
The programmer
comes on and the countdown
Letter A:
- off: manual mode
- lit: an operation has been programmed
Buttons + and - to set the clock, timer,
cooking duration and end-of-operation
time, press on:
+ to increase the time
5 s.
- to reduce the time
Cooking without the programmer
When the oven is switched off (mode selector set to 0), all
the keys (except for "-" to adjust the volume of the acoustic
signal) are disabled.
Select a cooking mode by turning the mode selector knob
clockwise. Each function has a predefined cooking time
that you can visualise by pressing
cooking time according to the recipes you use. Simply
press
and choose the cooking time you require using
the "-" and/or "+".
The display indicates a recommended temperature,
which is independent from that indicated on the
temperature selector: you can change it by turning the
temperature selector knob.
The grill display indicates a power level between 1 and 5
(1 for minimum power and 5 for maximum power).
Your oven is now ready to start cooking: press the
key. The oven begins the pre-heating phase, during which
symbol
blinks. It stops blinking when pre-heating is done
(after approximately 10 minutes).
If you fail to press the cooking start key one minute after
having selected a mode, the word "OFF" comes up on the
display and the keys are disabled. In this case, set the
mode selector back to "0" and proceed with the various
adjustments.
WARNING
Your appliance is fitted with a diagnosis system which
detects any malfunctions and displays "FnFm" on the
programmer (n and m are numbers).
In this case, please contact your nearest after-sales
service centre for assistance.
32
Indicator light for a programmed
operation:
- lit : operation underway
- off: operation finished
- flashing: programmed operation
has finished
. You can modify the