- ページ 6
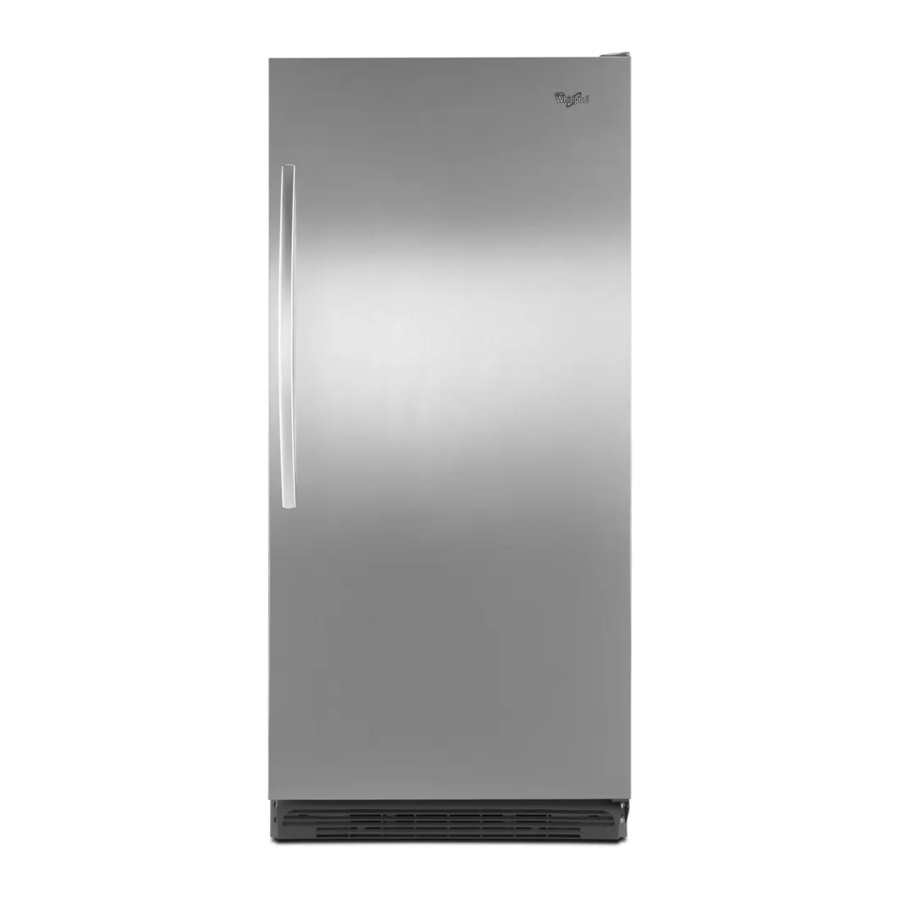
冷蔵庫 Whirlpool EL88TRRWSのPDF 取付説明書をオンラインで閲覧またはダウンロードできます。Whirlpool EL88TRRWS 20 ページ。 Trim kit
Whirlpool EL88TRRWS にも: 寸法マニュアル (1 ページ), 取扱説明書 (24 ページ), 冷蔵庫取扱説明書 (28 ページ), エネルギー・マニュアル (2 ページ)

1. Place the freezer and refrigerator in front of the opening
(freezer on the left, refrigerator on the right).
2. Adjust the leveler legs so that each appliance is level and
plumb and at the same height as the other appliance.
NOTE: The freezer and refrigerator each have two front
leveler legs that are adjustable. The back of each cabinet
rests on two fixed supports.
3. Place a leveling tool on top of the cabinet. Check the level
first side to side and then front to back.
To raise a corner - Turn the leveler leg clockwise.
To lower a corner - Turn the leveler leg counterclockwise.
4. Repeat Step 3 for the other appliance until both the freezer
and refrigerator are level, plumb and at the same height.
5. Adjust the front leveler legs enough to lift the cabinet up off of
the floor.
NOTE: If your model is equipped with rollers, the front legs
should be lowered enough to lift the rollers off of the floor to
ensure that the freezer does not roll forward when the door is
opened.
Move Refrigerator and Freezer to Final
Location
WARNING
Excessive Weight Hazard
Use two or more people to move and install
refrigerator.
Failure to do so can result in back or other injury.
When Moving Your Freezer or Refrigerator:
Your freezer and refrigerator are heavy. When moving the
appliance for cleaning or service, be sure to cover the floor
with cardboard or hardboard to avoid floor damage. Always
pull the appliance straight out when moving it. Do not wiggle
or "walk" the appliance when trying to move it, as floor
damage could occur.
IMPORTANT: If the electrical outlets are not centered in the back
wall of the opening, move the appliance on the opposite side of
the outlets into the opening first.
6
Move the First Appliance
1. Cover the floor with cardboard or hardboard to avoid floor
damage.
2. Slide the first appliance into the opening far enough to
connect the power cord to the electrical outlet.
WARNING
Electrical Shock Hazard
Plug into a grounded 3 prong outlet.
Do not remove ground prong.
Do not use an adapter.
Do not use an extension cord.
Failure to follow these instructions can result in death,
fire, or electrical shock.
3. Plug into a grounded 3 prong outlet.
4. Check the level of the appliance since it may have changed
when you moved it into the opening.
5. Attach the plastic foam spacer, to the side of the appliance,
so that it is flush with the top and rear edge of the cabinet as
shown.
NOTE: The spacer ensures that the two appliances are
positioned the correct distance apart from each other.
Move the Second Appliance
1. Slide the first appliance into the opening far enough to
connect the power cord to the electrical outlet.
2. Plug into a grounded 3 prong outlet.
3. Check the level of the appliance since it may have changed
when you moved it into the opening.
NOTE: Depending on the level of the floor, you may need to
remove each appliance and readjust several times to achieve
a satisfactory alignment.
4. If needed, either door may be adjusted vertically by loosening
the three hinge bolts, moving the hinge and retightening the
bolts.
NOTE: Provide additional support for the refrigerator door
while the hinges are being moved. Do not depend on the door
gasket magnets to hold the door in place while you are
working.
