- ページ 12
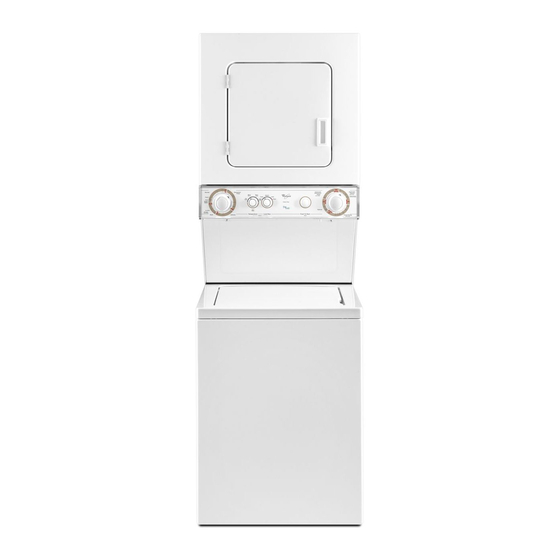
ドライヤー Whirlpool WGT3300SQ - Gas Laundry CenterのPDF 取付説明書をオンラインで閲覧またはダウンロードできます。Whirlpool WGT3300SQ - Gas Laundry Center 28 ページ。 Combination washer/electric dryer
Whirlpool WGT3300SQ - Gas Laundry Center にも: 仕様 (8 ページ), ユーザーマニュアル (28 ページ)

4. Attach the flexible gas connector to the ½" NPT adapter.
Do not use pipe-joint compound for this connection.
There should be a natural loop in the flexible gas connector.
The flexible gas connector must not be twisted, kinked, or
attached with any sharp bends.
5. All connections must be wrench tightened.
6. Open the shutoff valve in the supply. The valve is open when
the handle is parallel to the gas pipe.
A
A. Closed valve
B. Open valve
7. Test all connections by brushing on an approved noncorrosive
leak-detection solution. Bubbles will show a leak. Correct any
leak found.
Connect Vent
1. Using a 4" (102 mm) clamp, connect vent to exhaust outlet
in washer/dryer. If connecting to existing vent, make sure the
vent is clean. The vent must fit over the exhaust outlet and
inside the exhaust hood. Make sure the vent is secured to
exhaust hood with a 4" (102 mm) clamp.
2. Move washer/dryer into its final location. Do not crush or kink
vent. Make sure washer/dryer is level.
3. Check that there are no kinks in the flexible gas line.
12
B
Complete Installation
1. Check that all parts are now installed. If there is an extra part,
go back through the steps to see which step was skipped.
2. Check that you have all of your tools.
3. Dispose of/recycle all packaging materials. Keep the plastic
foam for use if the washer/dryer should be transported.
4. Check the washer/dryer's final location. Be sure the vent is not
crushed or kinked.
5. Check that the washer/dryer is level and front leveling feet are
tight. See "Level Washer/Dryer."
WARNING
Electrical Shock Hazard
Plug into a grounded 3 prong outlet.
Do not remove ground prong.
Do not use an adapter.
Do not use an extension cord.
Failure to follow these instructions can result in death,
fire, or electrical shock.
6. Plug into a grounded 3 prong outlet. Turn on power.
7. Check that the water faucets are on.
8. Check for leaks around faucets and inlet hoses.
9. Remove the blue protective film on the console and any tape
remaining on the washer/dryer.
10. Read the Washer/Dryer User Instructions.
11. Wipe the dryer drum interior thoroughly with a damp cloth
to remove any dust.
12. To test the washer, measure
amount of detergent and pour it into the washer. Close the lid.
Select HEAVY DUTY and pull out the Cycle Control knob.
Allow the washer to complete one whole cycle.
13. To test the dryer, set the dryer on a full heat cycle (not an air
cycle) for 20 minutes and start the dryer.
If the dryer will not start, check the following:
Washer/dryer is plugged into a grounded 3 prong outlet.
Start button has been firmly pushed.
Electrical supply is connected.
Household fuses are intact and tight, or circuit breakers
have not tripped.
Dryer door is closed.
14. When the dryer has been running for 5 minutes, open the
dryer door and feel for heat. If you do not feel heat, turn off the
dryer and check to see whether the gas supply line shutoff
valve is open.
If the gas supply line shutoff valve is closed, open it, then
repeat the 5-minute test as outlined above.
If the gas supply line shutoff valve is open, contact a
qualified technician.
1
⁄
the normal recommended
2
