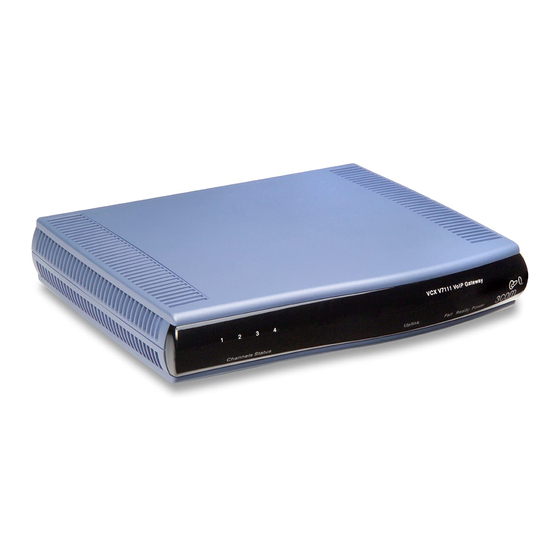
ネットワーク・ハードウェア 3Com OfficeConnect WX2200のPDF クイック・スタート・マニュアルをオンラインで閲覧またはダウンロードできます。3Com OfficeConnect WX2200 10 ページ。 Secure converged networks enterprise edition
3Com OfficeConnect WX2200 にも: 製品マニュアル (15 ページ)

This document describes how to quickly install and
configure a new WX switch running Mobility System
Software Version 6.0. You can use any of the following
methods to configure a new switch:
Web Quick Start (WXR100, WX1200, or WX2200)
(see below)
Remote configuration by 3Com Wireless Switch
Manager (3WXM) Management Application (see
page 2)
CLI quickstart command (see page 7)
You might also need to perform some minor network or
client configuration tasks. See "Preparing the Network
for Distributed MAPs" on page 8 and "Preparing
Clients" on page 9.
Using the Web Quick Start (WXR100, WX1200,
or WX2200)
Use a Category 5 (Cat 5) or higher Ethernet cable to con-
1
nect the switch directly to a PC that has a web browser.
On WX2200, attach the Ethernet cable to the
management port only.
On WX1200 or WXR100, you can attach the
Ethernet cable to any 10/100 port.
Part No. 10015906
Published June 2007
M
S
OBILITY
Q
S
UICK
TART
S
YSTEM
OFTWARE
G
UIDE
Connect the switch to an AC power source.
2
If you are configuring a WXR100, do not press the
Fn switch during power on. Pressing this switch on an
unconfigured switch causes the switch to attempt to
contact 3WXM Services instead of displaying the Web
Quick Start.
Ensure the NIC of the PC that is connected to the switch
3
is enabled.
Verify that the NIC is configured to use DHCP to obtain
4
its IP address. You will not be able to access the Web
Quick Start if the IP address of the NIC is statically
configured.
Use a web browser to access IP address 192.168.100.1.
5
This is a temporary, well-known address assigned to the
unconfigured switch when you power it on. The Web
Quick Start enables you to change this address.
The Web View application on the switch opens in a
browser window. The first page of the Quick Start
wizard is displayed (as shown on the next page).
If a certificate check dialog appears, click Accept or OK
to accept the certificate.
