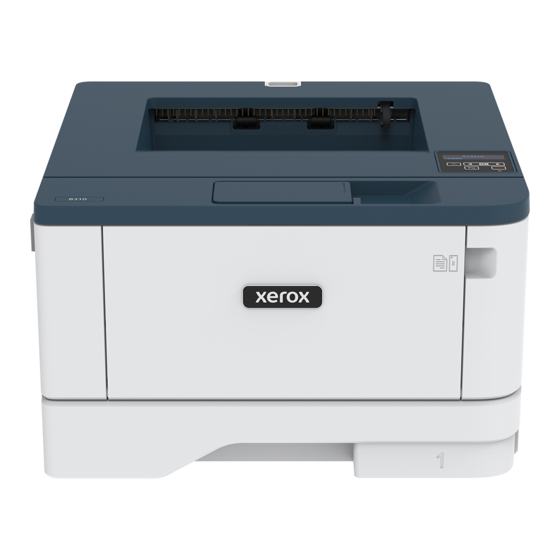
1. Standard output tray
2. Multipurpose feeder
3. Trays
4. Duplex unit
5. Rear door
P P a a p p e e r r J J a a m m i i n n t t h h e e S S t t a a n n d d a a r r d d O O u u t t p p u u t t T T r r a a y y
Remove the jammed paper.
Note:
Make sure that all paper fragments are removed.
P P a a p p e e r r J J a a m m i i n n t t h h e e M M u u l l t t i i p p u u r r p p o o s s e e F F e e e e d d e e r r
1. Remove paper from the multipurpose feeder.
2. Remove the jammed paper.
Note:
Make sure that all paper fragments are removed.
3. Close the multipurpose feeder.
4. Open the front door.
Warning:
To prevent damage from electrostatic discharge,
touch any exposed metal frame of the printer before
accessing or touching interior areas of the printer.
5. Remove the imaging unit.
Warning:
more than 10 minutes. Extended exposure to light may cause
print quality problems.
Warning:
may affect the quality of future print jobs.
5
Do not expose the imaging unit to direct light for
Do not touch the photoconductor drum. Doing so
