- ページ 6
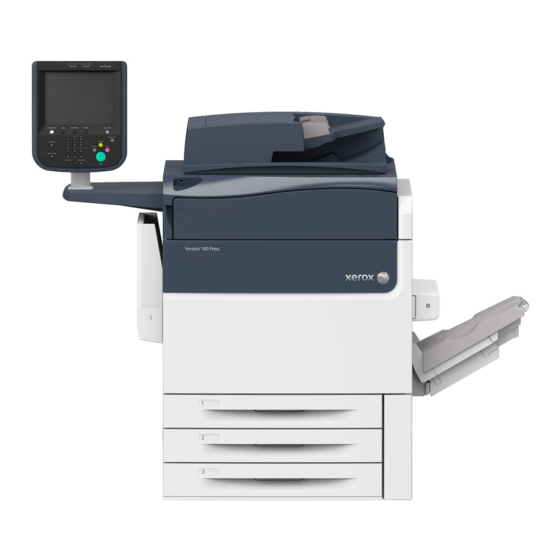
プリンター Xerox Versant 180 PressのPDF クイック・リファレンスをオンラインで閲覧またはダウンロードできます。Xerox Versant 180 Press 6 ページ。 Quick reference for printing extra large sheets (xls) on the ex 180 and ex-i 180 print servers, powered by fiery
Xerox Versant 180 Press にも: セキュリティ・マニュアル (45 ページ), クイック・リファレンス (2 ページ)

24. To see the results of the adjustment,
select Sample Printout.
25. For 2 Sided Printing, select 1 Sided if the profile was build for only one side, or 2 Sided if the profile was built
for both sides of the paper.
26. Press the green Start button on the Control Panel.
27. Press Confirm when the printing is complete.
28. Examine the print that was made using the new Adjustment Alignment Profile that you created.
If you are satisfy with the results, touch Close and then Save.
If you are not satisfied, touch Close and then Cancel. Restart the procedure at Step 1.
29. Select Close three times to exit the next three windows.
30. Log out of Admin mode by selecting the Admin icon on the top right of the screen, and touching Logout.
Using the Profile
The new profile is automatically assigned to
the tray selected when performing the
procedure. When a user selects this tray for a
job, the profile will always be used unless the
operator changes the setting.
To change the profile a tray is using, or instruct
the press to use no profile, use this procedure:
1. Open and close the tray to be used for the
printing. Load the paper if needed.
The tray properties window opens on the
Touch Screen.
2. Select Change Settings.
3. Touch Alignment Adjustment.
4. Select a new profile to use, or select
Default Value to not use a created profile.
5. Touch Save.
6. Touch Save.
7. Touch Confirm.
© Copyright 2015 Xerox Corporation. All rights reserved. XEROX
®
and Versant
are trademarks of Xerox Corporation in the United States and other countries.
6
®
, XEROX and Design
®
®
, FreeFlow
,
