- ページ 7
オール・イン・ワン・プリンター Xerox B225のPDF クイック・リファレンス・マニュアルをオンラインで閲覧またはダウンロードできます。Xerox B225 16 ページ。
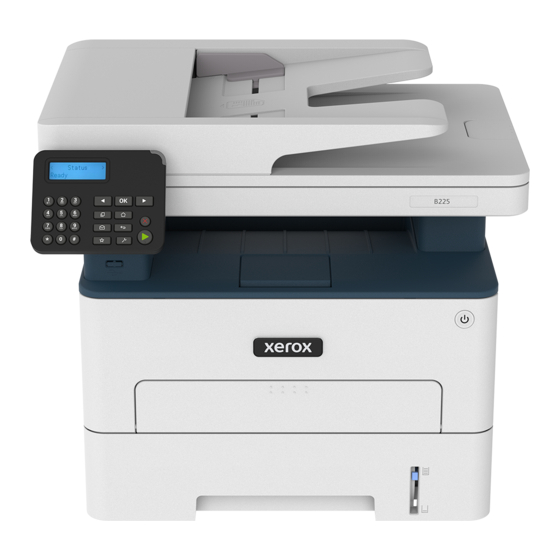
Printer port
Number
1
EXT port
2
LINE port
3
Ethernet port
4
USB printer port
5
Power cord socket
R R e e p p l l a a c c i i n n g g t t h h e e T T o o n n e e r r C C a a r r t t r r i i d d g g e e
Function
1. Open the front door.
Warning:
Connect more
touch any exposed metal frame of the printer before
devices (telephone
accessing or touching interior areas of the printer.
or answering
machine) to the
printer and the
telephone line. Use
this port if you do
not have a
dedicated fax line
for the printer and if
this connection
method is
supported in your
country or region.
Connect the printer
to an active
telephone line
through a standard
wall jack (RJ-11),
DSL filter, or VoIP
adapter, or any
other adapter that
allows you to access
the telephone line
2. Remove the imaging unit.
to send and receive
faxes.
Connect the printer
to a network.
Connect the printer
to a computer.
Connect the printer
to a properly
grounded electrical
outlet.
To prevent damage from electrostatic discharge,
7
3. Remove the used toner cartridge from the imaging unit.
4. Unpack the new toner cartridge.
5. Shake the toner cartridge to redistribute the toner.
6. Remove the seal, and then remove the cover.