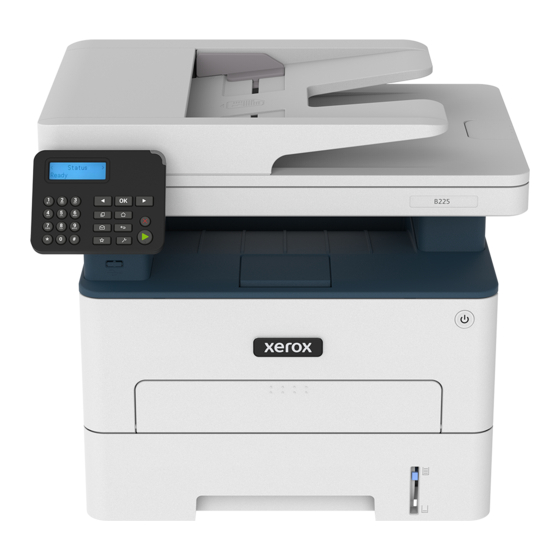
オール・イン・ワン・プリンター Xerox B235のPDF クイック・リファレンス・マニュアルをオンラインで閲覧またはダウンロードできます。Xerox B235 16 ページ。

Xerox
B225/B235 Multifunction
®
Printer Quick Reference Guide
Copy
M M a a k k i i n n g g C C o o p p i i e e s s
1. Load an original document into the ADF tray or on the scanner
glass.
Note:
To avoid a cropped image, make sure that the original
document and the output have the same paper size.
2. From the control panel, navigate to:
> Copy > specify the number of copies
For non-touch-screen printer models, press
through the settings.
If necessary, adjust the settings.
3. Copy the document.
Note:
To make a quick copy, from the control panel, press
.
C C o o p p y y i i n n g g o o n n B B o o t t h h S S i i d d e e s s o o f f t t h h e e P P a a p p e e r r
1. Load an original document into the ADF tray or on the scanner
glass.
2. From the control panel, navigate to:
> Copy > Sides
For non-touch-screen printer models, press
through the settings.
3. Adjust the setting.
4. Copy the document.
C C o o p p y y i i n n g g m m u u l l t t i i p p l l e e p p a a g g e e s s o o n n t t o o a a s s i i n n g g l l e e s s h h e e e e t t
1. Load an original document into the ADF tray or on the scanner
glass.
2. From the control panel, navigate to:
> Copy > Pages per Side
For non-touch-screen printer models, press
through the settings.
3. Adjust the settings.
4. Copy the document.
Email
C C o o n n f f i i g g u u r r i i n n g g t t h h e e E E m m a a i i l l S S M M T T P P S S e e t t t t i i n n g g s s
Configure the Simple Mail Transfer Protocol (SMTP) settings to send a
to navigate
scanned document through e-mail. The settings vary with each
service provider. For more information, refer to
Providers.
Before you begin, make sure that the printer is connected to a
network and that the network is connected to the Internet.
U U s s i i n n g g t t h h e e E E m m a a i i l l S S e e t t u u p p W W i i z z a a r r d d i i n n t t h h e e P P r r i i n n t t e e r r
• Before using the wizard, make sure that the printer firmware is
updated. For more information, see
• For non-touch-screen printer models, press OK to navigate through
the settings.
1. From the home screen, touch E-mail.
2. Touch Set up now, and then type your e-mail address.
3. Type the password.
• Depending on your e-mail service provider, type your account
to navigate
• If your provider is not listed, then contact your provider and
4. Touch OK.
U U s s i i n n g g t t h h e e S S e e t t t t i i n n g g s s M M e e n n u u i i n n t t h h e e P P r r i i n n t t e e r r
1. From the home screen, touch Settings > E-mail > E-mail Setup.
2. Configure the settings.
• For more information on the password, refer to
• For e-mail service providers that are not on the list, contact
to navigate
• For non-touch-screen printer models, press OK to navigate
U U s s i i n n g g t t h h e e E E m m b b e e d d d d e e d d W W e e b b S S e e r r v v e e r r
1. Open a web browser, and then type the printer IP address in the
address field.
a. To view the printer IP address, go to the printer home screen.
b. If you are using a proxy server, then temporarily disable it to
Email Service
2. Click Settings > E-mail.
3. From the E-mail Setup section, configure the settings.
4. Click Save.
a. For more information on the password, refer to
b. For e-mail service providers that are not on the list, contact
Updating
Firmware.
E E m m a a i i l l S S e e r r v v i i c c e e P P r r o o v v i i d d e e r r s s
To determine the SMTP settings of your email service provider, use the
following tables.
1
password, app password, or authentication password. For
more information on the password, refer to
Email Service
Providers, and then look for Device Password.
ask for the Primary SMTP Gateway, Primary SMTP Gateway
Port, Use SSL/TLS, and SMTP Server Authentication settings.
Providers.
your provider and ask for the settings.
through the settings.
The IP address appears as four sets of numbers separated by
periods, such as 123.123.123.123.
load the web page correctly.
Providers.
your provider and ask for the settings.
Email Service
Email Service
