- ページ 38
オール・イン・ワン・プリンター Xerox WorkCentre Pro 65のPDF ネットワーク・インストレーション・マニュアルをオンラインで閲覧またはダウンロードできます。Xerox WorkCentre Pro 65 42 ページ。 Pdl reference guide
Xerox WorkCentre Pro 65 にも: クイック・スタート・マニュアル (16 ページ), ユーザーマニュアル (24 ページ), システム管理マニュアル (30 ページ), リファレンス・マニュアル (22 ページ)
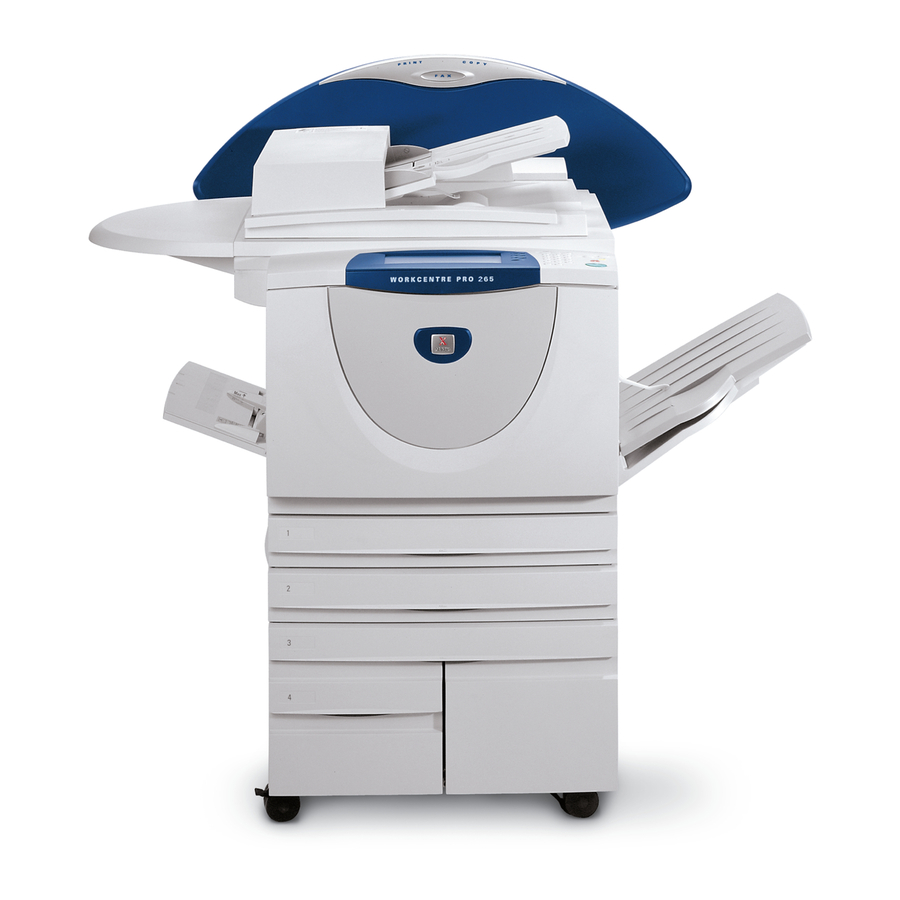
Image Overwrite Security
On Demand Overwrite from a
workstation...
1. Launch an Internet Browser.
2. Enter the TCP/IP Address of your printer in the
Address or Location field and press Enter.
3. At the CentreWare Internet Services Home Page,
Click the Properties tab or click Properties in the
directory tree.
4. Click On Demand Overwrite in the directory tree.
5. Enter the administration id and password.
6. Click OK.
7. Click Start.
NOTE: A screen will appear to confirm that this proce-
dure will delete image data from the hard disks. Any ex-
isting jobs in the queue will be deleted. The machine
will be taken offline and will be unable to receive any in-
coming jobs. Internet Services will not be available until
the machine reboots and comes back online.
The On Demand Overwrite will overwrite all image data
on the hard disks. The process takes up to 20 minutes.
To cancel the overwrite procedure press Abort. Enter
the current administrator password. The overwrite pro-
cedure may have already started at this stage. Press
Back to continue with the overwrite.
Following completion of the On Demand Overwrite the
Network Controller will reboot. A confirmation sheet will
print. To verify the overwrite has completed view the
Confirmation Sheet, under Confirmation Details. The
Job Information: Status ESS Disk should read 'SUC-
CESS'. The Status Image Disk should read 'SUC-
CESS'.
604P15800
38